After The Hike That Started It All, I had set my sights on a summer of section-hiking the Appalachian Trail (AT) with my son, Jack. That plan crashed like a wave over the jagged rocks of reality, along with my right ankle, on the eve of our first AT hike (post on this is coming soon). While rehabbing my ankle and working my way back into shape, I had a fantastic day hike at Pilot Mountain (I’ll also post about this). While there, I hiked a section of the North Carolina Mountains-to-Sea Trail, and it caught my interest.
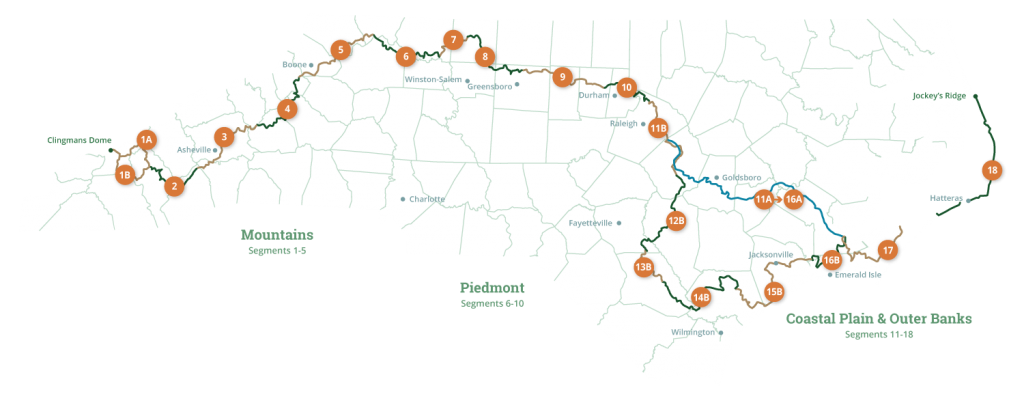
Mountains-to-Sea Trail
The
Mountains-to-Sea Trail (MST) is a North Carolina treasure, 40 years in the making. It’s a network of hiking trails, river routes, and back roads spanning 1175 miles, from Clingmans Dome in the Smokies, to Jockey’s Ridge on the Outer Banks. While I knew an AT section-hiking campaign would probably take me 10-15 years to complete, I thought the MST would be a more quickly attainable goal, due to the shorter length and easier logistics. And would be great preparation for the AT… perhaps an AT thru-hike in a few years.
While I could section-hike the MST in random order, I really like the challenge of hiking the segments in sequence. The trail can be done from west-to-east or east-to-west, and trail guides are available for both options. Going east-to-west would certainly provide good training on relatively easy segments, over the course of a year or more before I got to the really challenging mountain segments. While it’s true that going west-to-east saves you about 6000 ft of vertical climb overall… that’s really not significant, given that there’s over 75,000 feet of climb (and descent) going either direction.
Ultimately, I opted for west-to-east, because:
- It’s called “Mountains-to-Sea Trail”, not “Sea-to-Mountains Trail”
- The numbering of the sections starts in the west
- I plan to paddle about 200 miles on the Neuse river. I suspect paddling downstream will be a little easier.
- Some of the Piedmont and Coastal segments may be pretty monotonous, compared to the mountains. I think I’d be more likely to get discouraged and quit going that direction, versus feeding off the challenge and beauty of the mountain segments for the first year or so. Then using the “you’ve come this far, see it through” motivation to drive me eastward.
- I fancy the vision of doing the final slog up the Outer Banks and finishing atop Jockey’s Ridge. That’s a compelling goal, versus saving the hardest segments for last.
- I’m an “impossible goals” kind of guy. Starting with the hardest thing I can find is kind of what I do, in life.
And yeah, the first few mountain segments are hard. The first four are rated “Black Diamond” strenuous. Segment 1A is 12,640ft of ascent and 13,390ft of descent, over 69 miles, requiring full backcountry backpacking gear. It’s pretty extreme. But it’s spectacular.
So I researched the route, planned the logistics, assembled gear, and continued my training. It’s been nearly 40 years since I did any backcountry backpacking (when I was a Boy Scout). Equipment and my body have both change A LOT. I trained over a couple hundred miles of day hikes with a 15-20 pound backpack or day pack, and did a couple of final “sanity check” hikes with a fully loaded backpack. This included one overnighter at Raven Rock State Park to test all my camping equipment, a week before my MST start.
Logistics
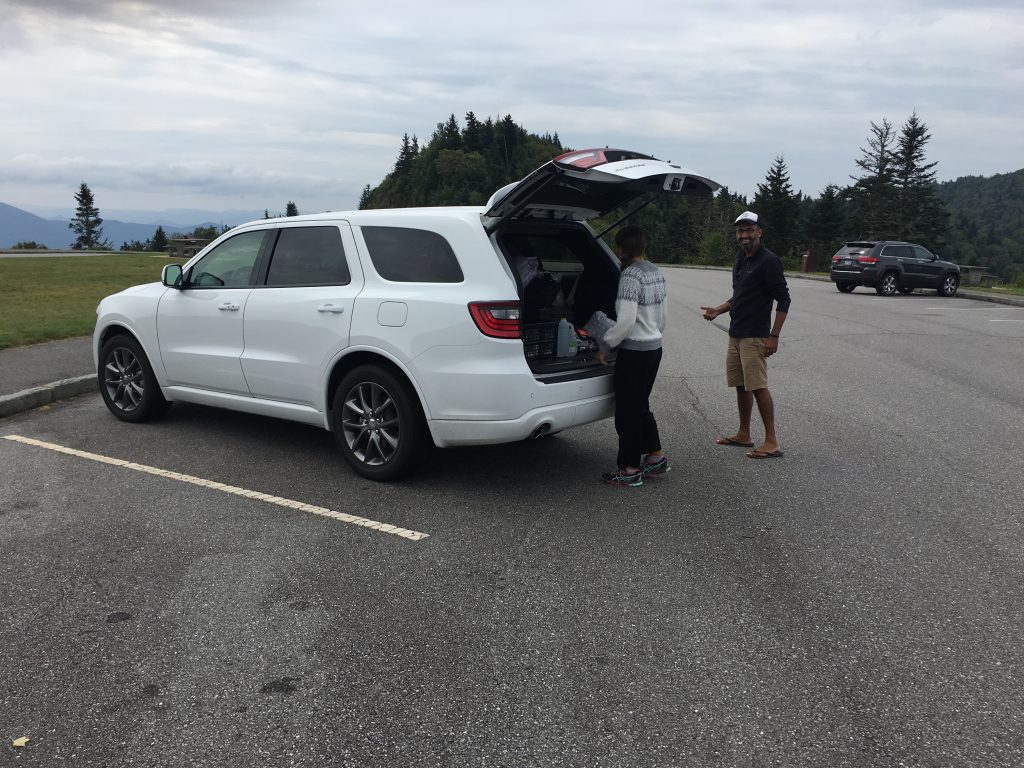
One of the first challenges is getting there. Where do you leave your car? If you drive to the start, you have to find a way back to your car after you’re done. If you park at the finish, you need a ride to the start. If you’re hiking with a partner, you can take two vehicles and leave one at each end. But if you’re hiking solo, you will need a ride, one way or the other. The best option is usually to park at or near your “finish” point. Then you can pre-arrange a ride from your car to your starting point at a known time, and hike back to your car. There are shuttle providers in the mountain areas that offer this service, for a fee. I’m fortunate enough to have some friends in the area, and found one who could shuttle me about 40 road miles from Waterrock Knob to Clingmans Dome on the morning of my start.
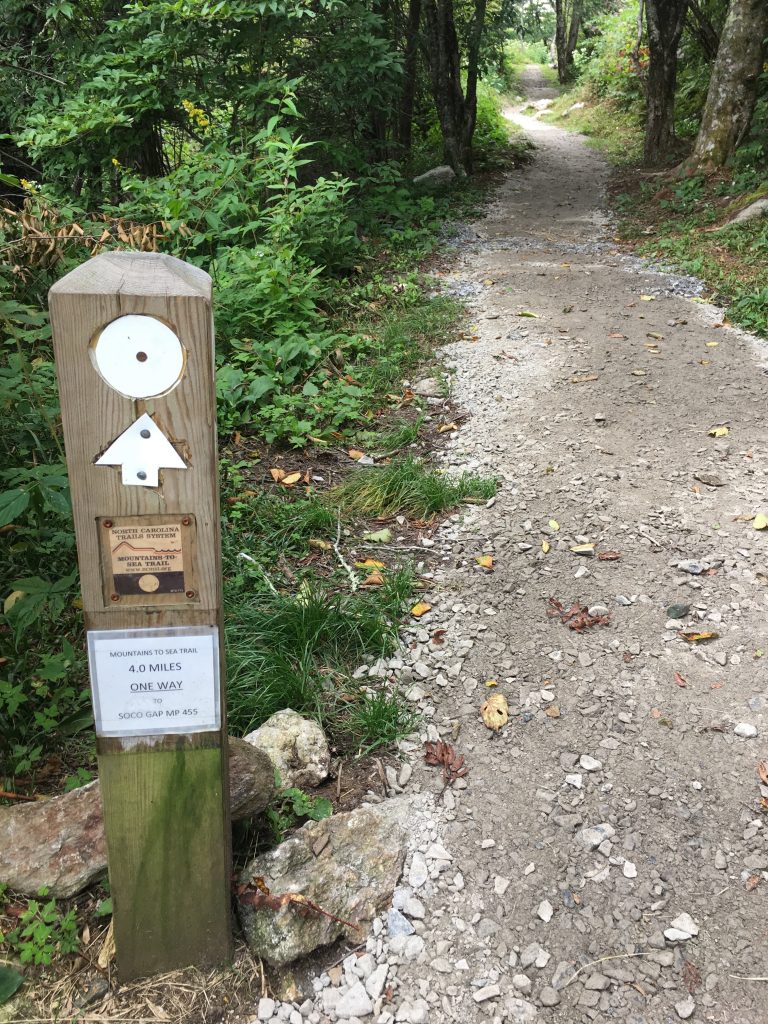
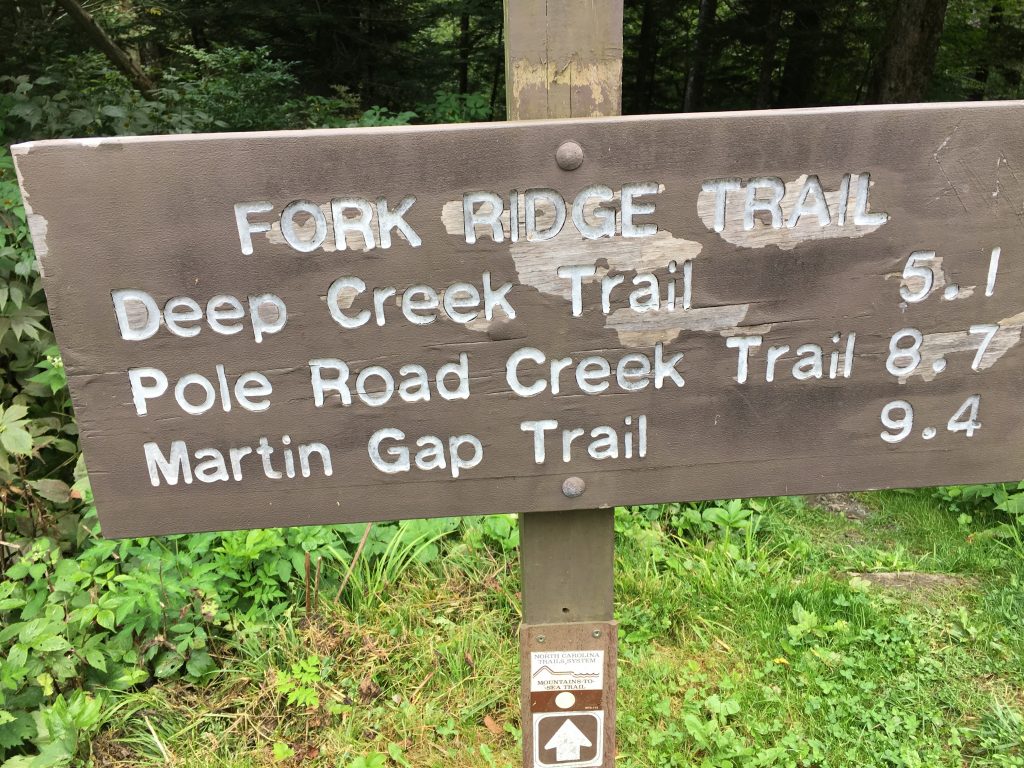
There are two routes for Mountains-to-Sea Trail Segment 1:
The Great Smoky Mountains Route and
The River Valley Route. The Smokies Route is about 20 miles longer, and more rugged, with more time in the backcountry. Of course, I chose the hardest route (“1A”), which is mostly within the Great Smoky Mountains National Park. I planned a pretty ambitious schedule that would complete the 69 miles (more like 75 miles including spur trails to campsites and water) over 6 days. This route included a “safety valve” after two days, when the trail passes through the developed Smokemont area. This would be an opportunity to “bail out” and get a ride back to my car, if I was having problems with my equipment, my body, or my sanity.
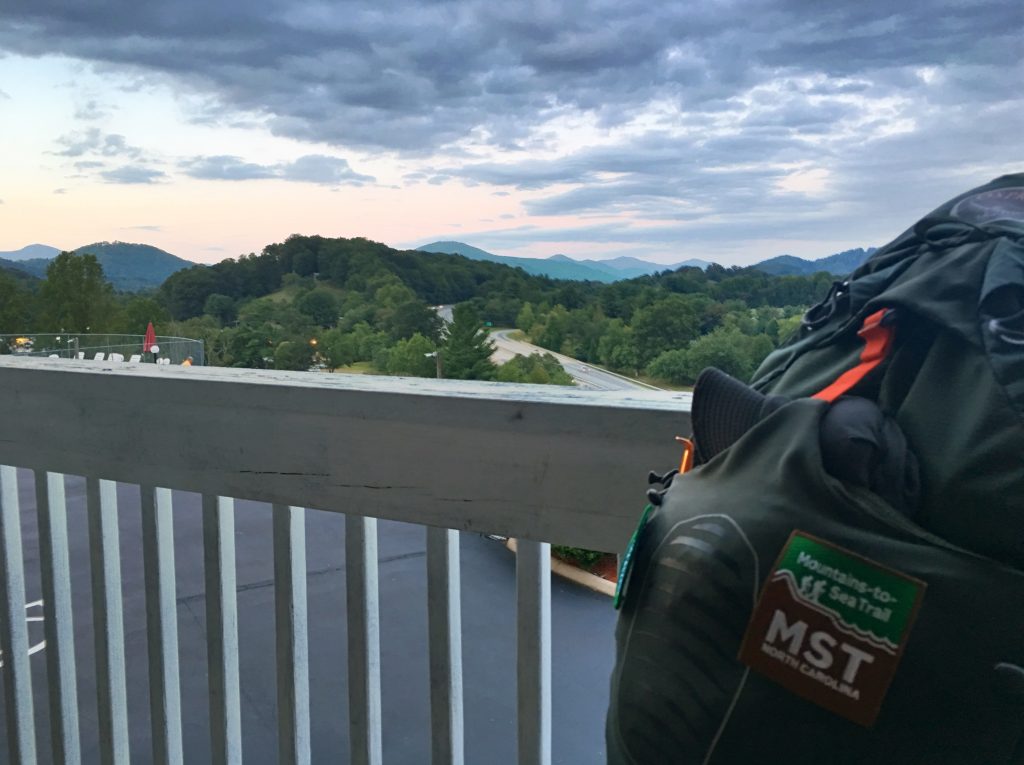
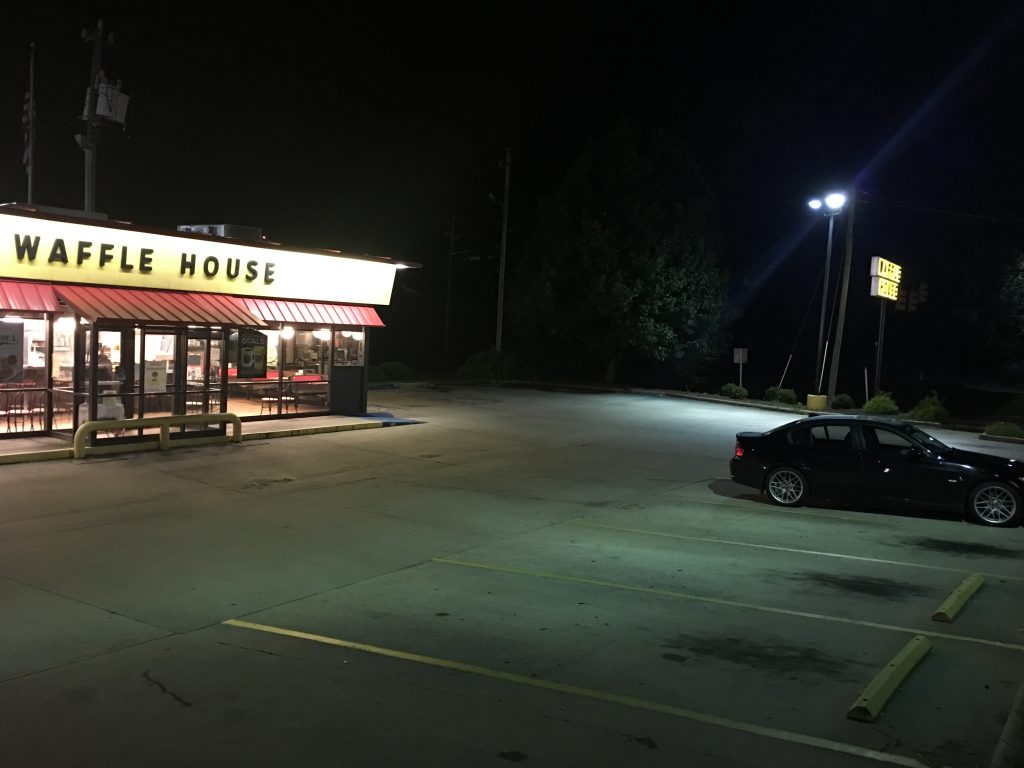
On August 24, I drove to Waynesville, NC and spent the night at the EconoLodge there. Had a great dinner at Boojum Brewing. Slept OK, but woke up early… just too excited to sleep. Ate my last “civilized” breakfast at the deserted Waffle House.
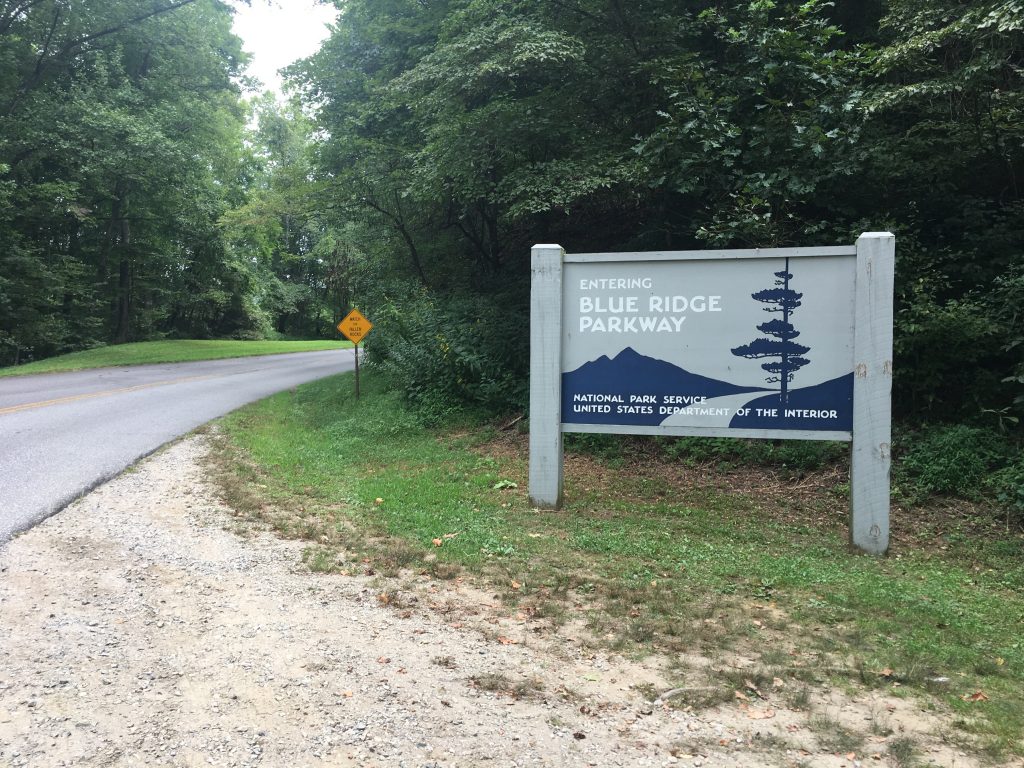
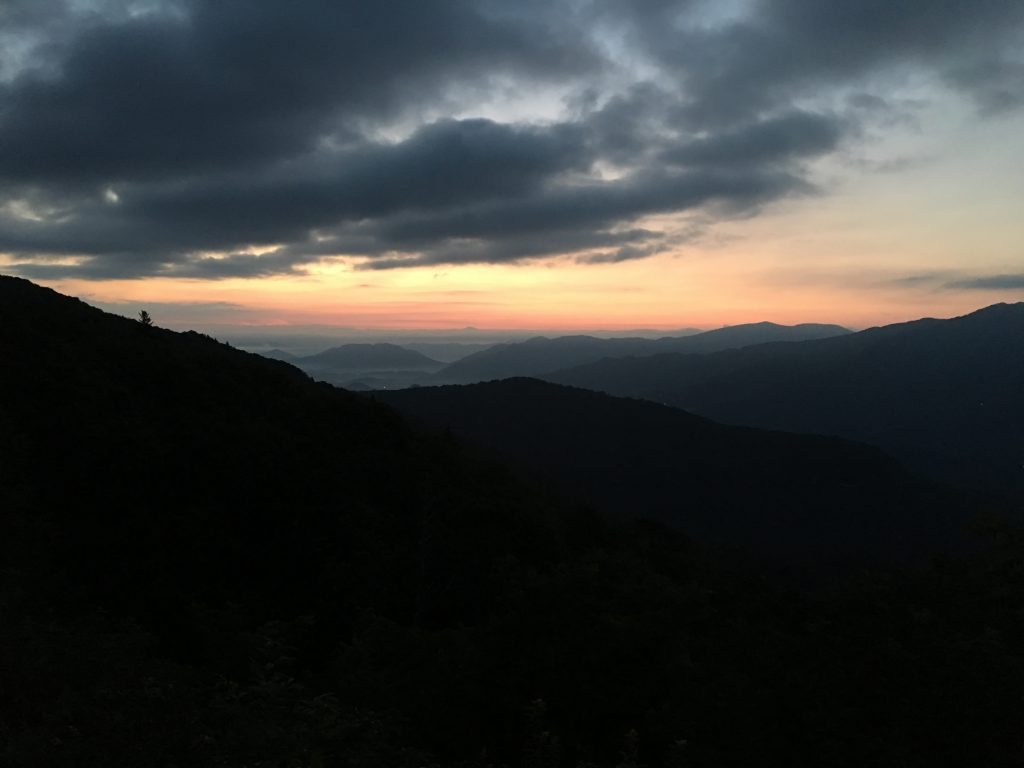
Then headed up the Blue Ridge Parkway to Waterrock Knob. Had to stop for a breathtaking dawn.
Where do you park?
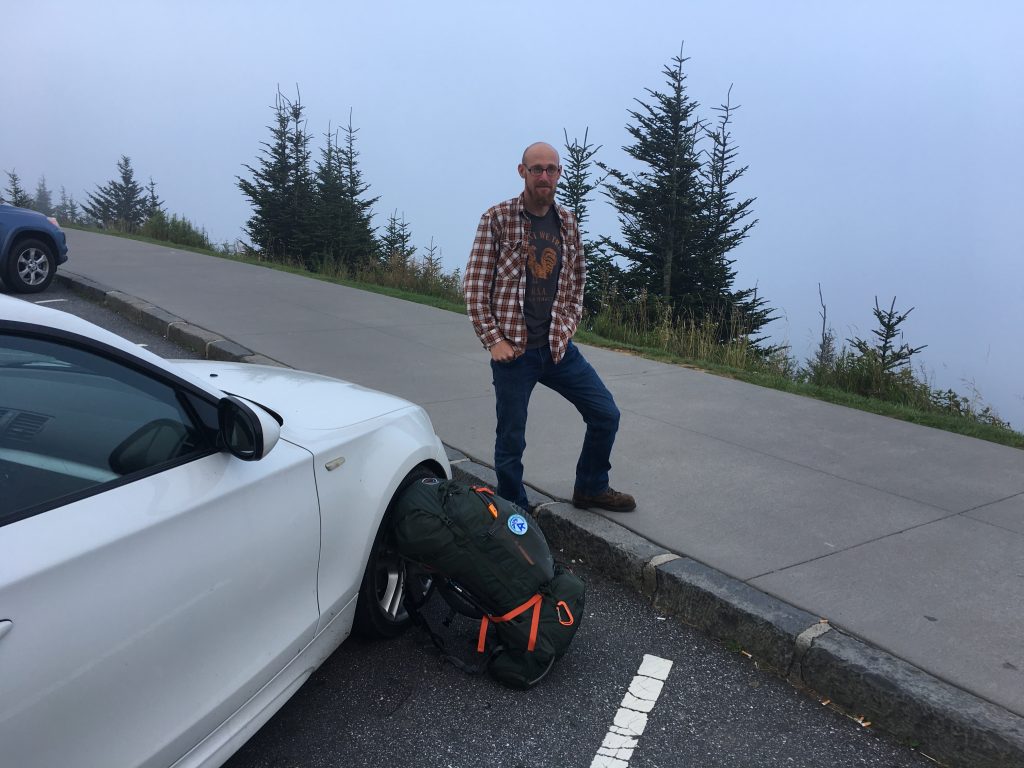
Made it to Waterrock Knob around 7AM. My buddy Rick was waiting for me there, to take me to Clingmans Dome. I had called the Blue Ridge Parkway communications center in advance, to let them know I’d be leaving a car in the lot while I was in the backcountry. It’s not a problem, but the rangers like to know when cars are going to be there overnight.
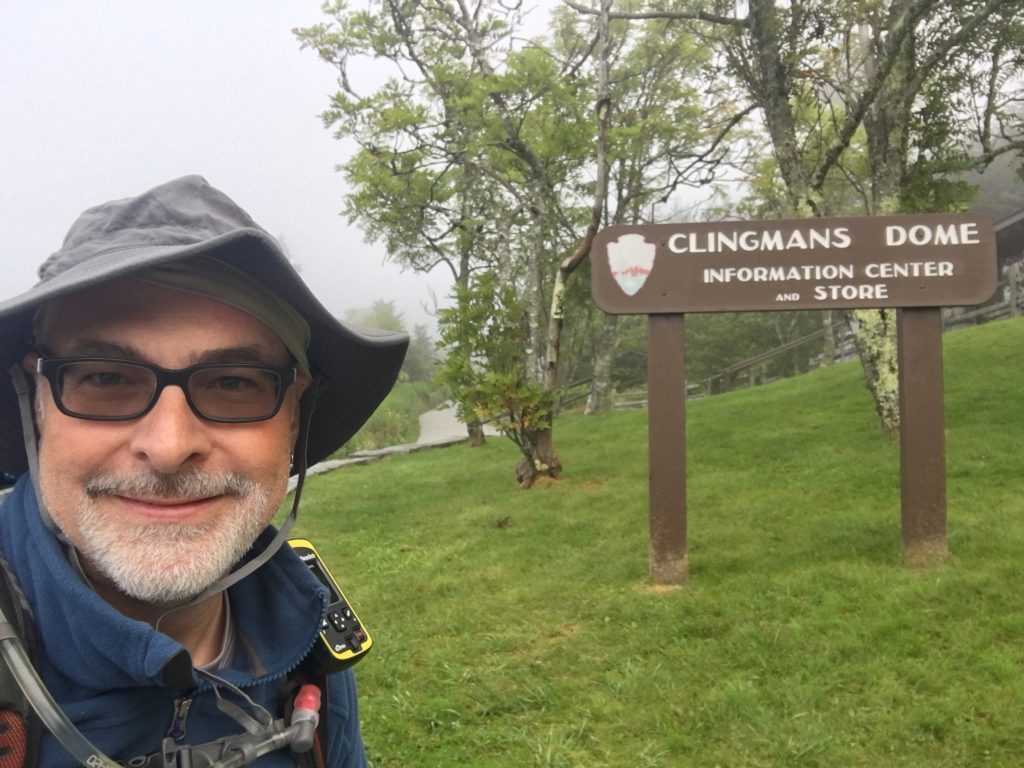
Rick dropped me off on a typical foggy morning at Clingmans Dome, and it was time to start the adventure.
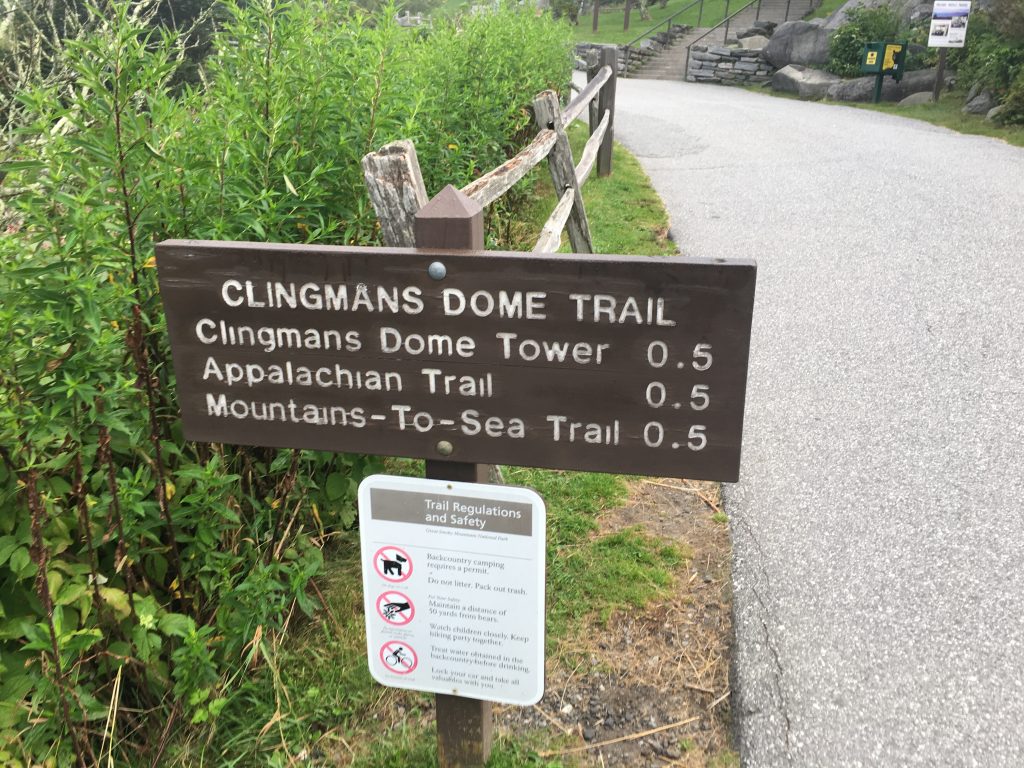
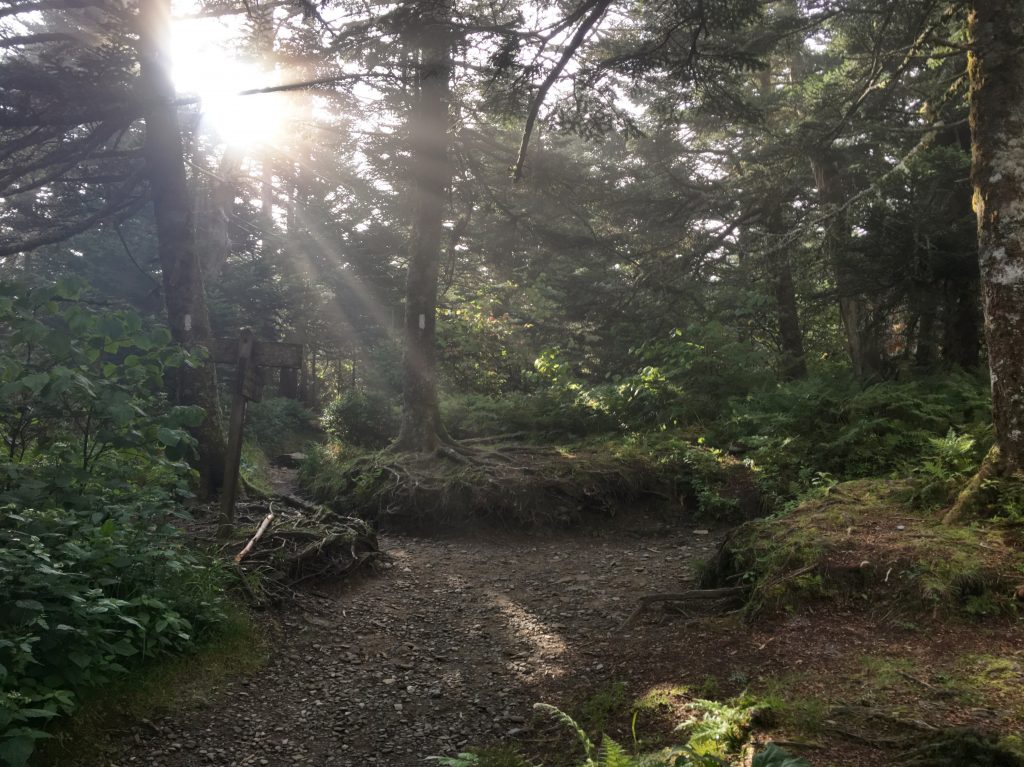
Getting Started at Clingmans Dome
The most strenuous part of the entire hike was probably the paved footpath from the parking lot up to the summit. I’ve done it before, and it’s tough without a 40 pound pack. With the pack, it was slow going. I was already beginning to question my judgement and readiness…
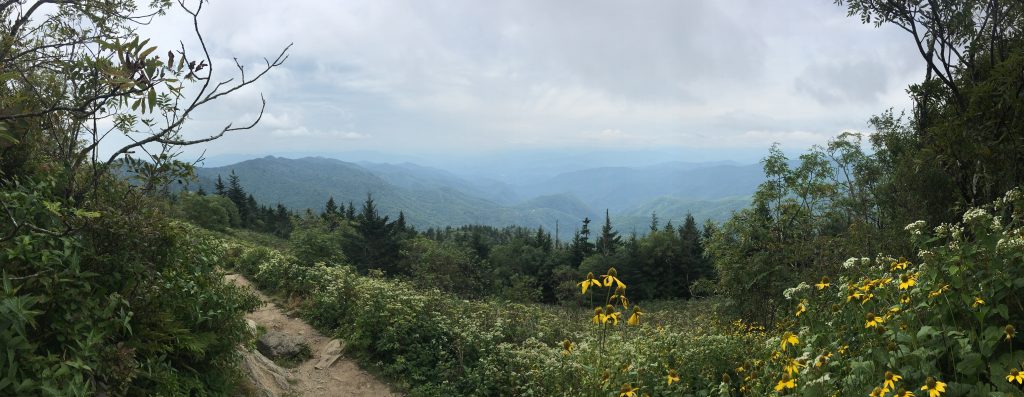
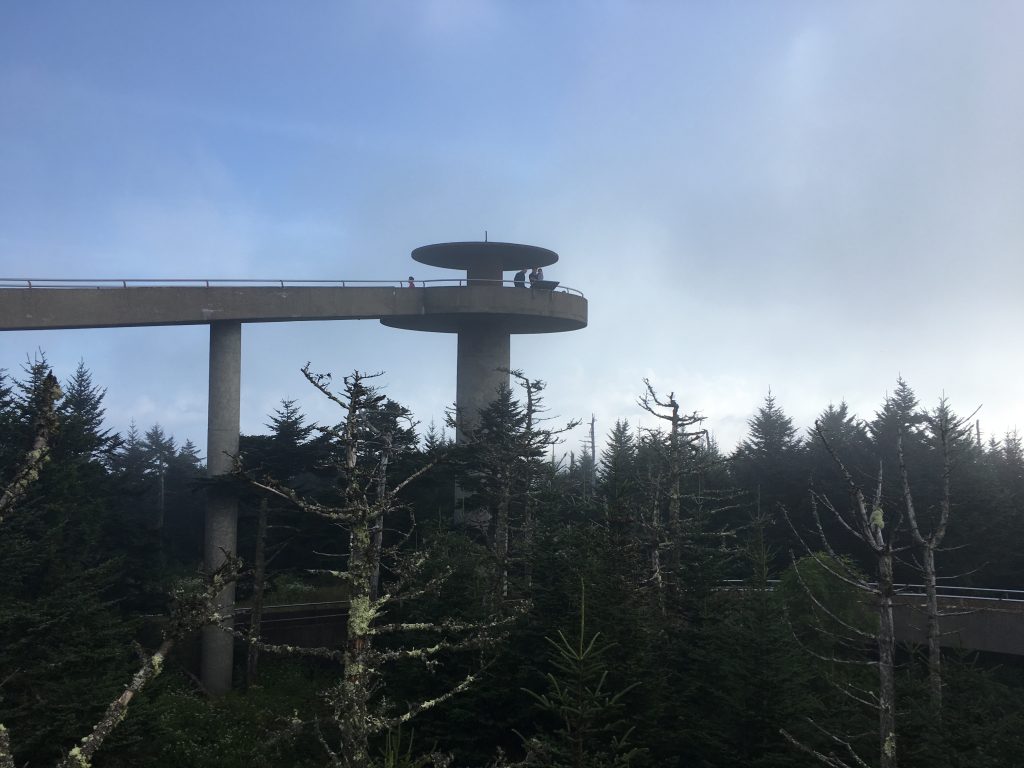
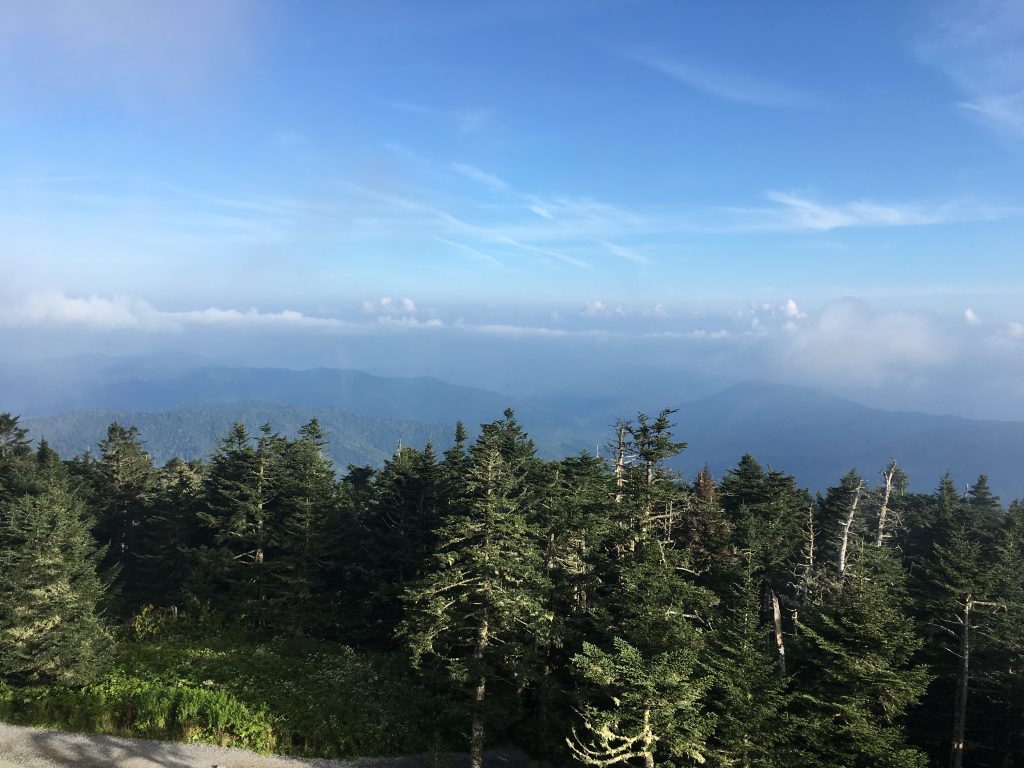
But in 15 minutes, I was at the summit, and my mood improved. It was starting to clear a bit, and the view from the observation tower is fantastic. And the remaining fog on the first mile of the trail made it quite mystical.
The first 4 miles of the MST follows the AT along the ridge from Clingmans Dome to Mount Collins. It’s a beautiful section of trail.
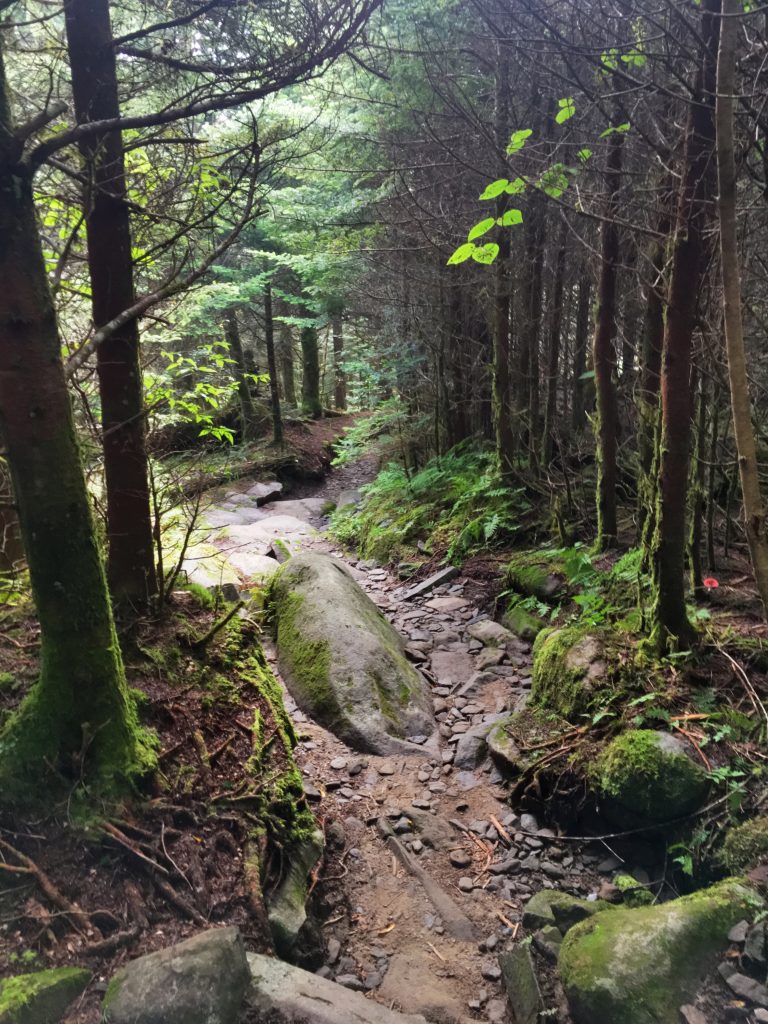
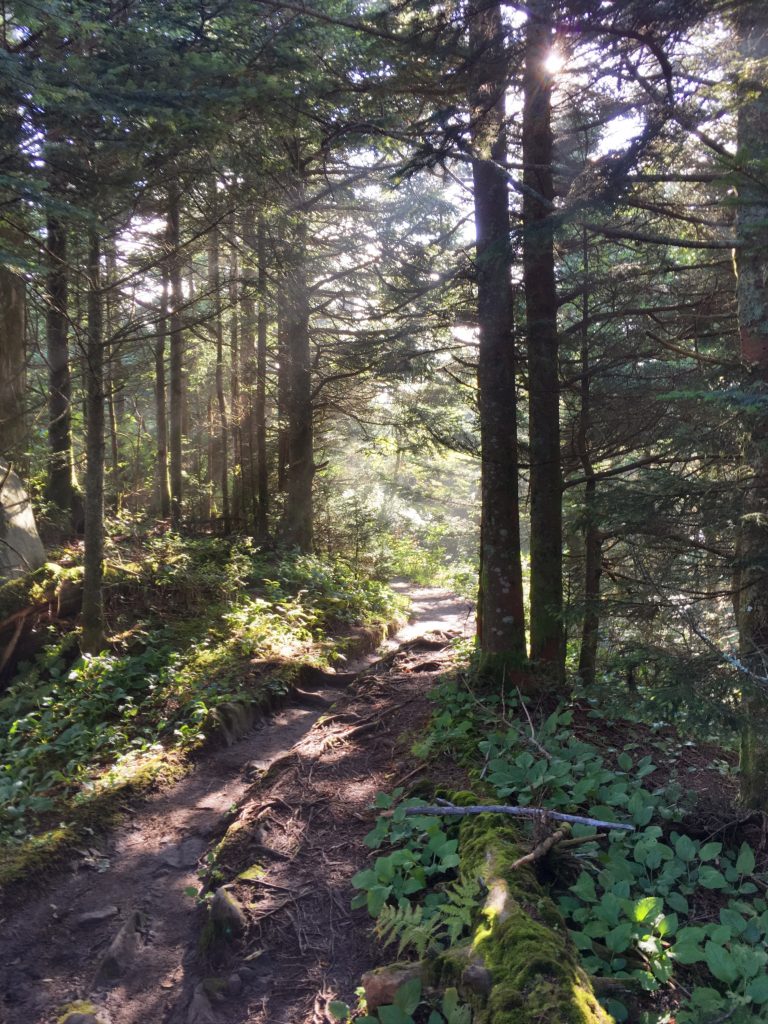
Heading Down Fork Ridge
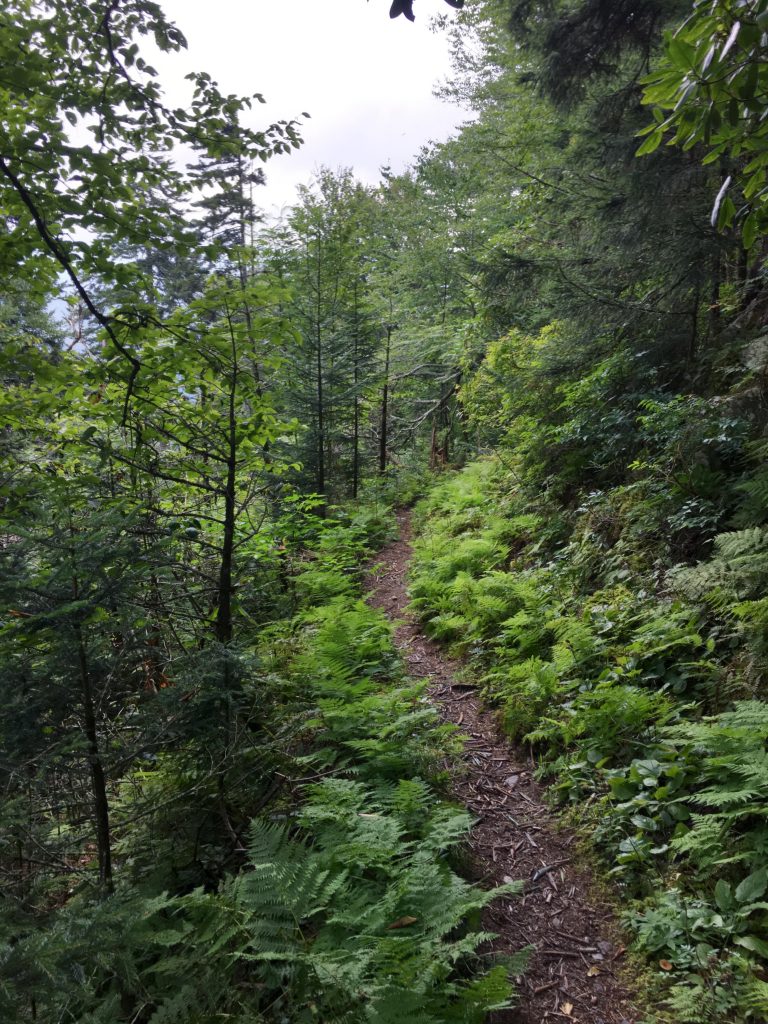
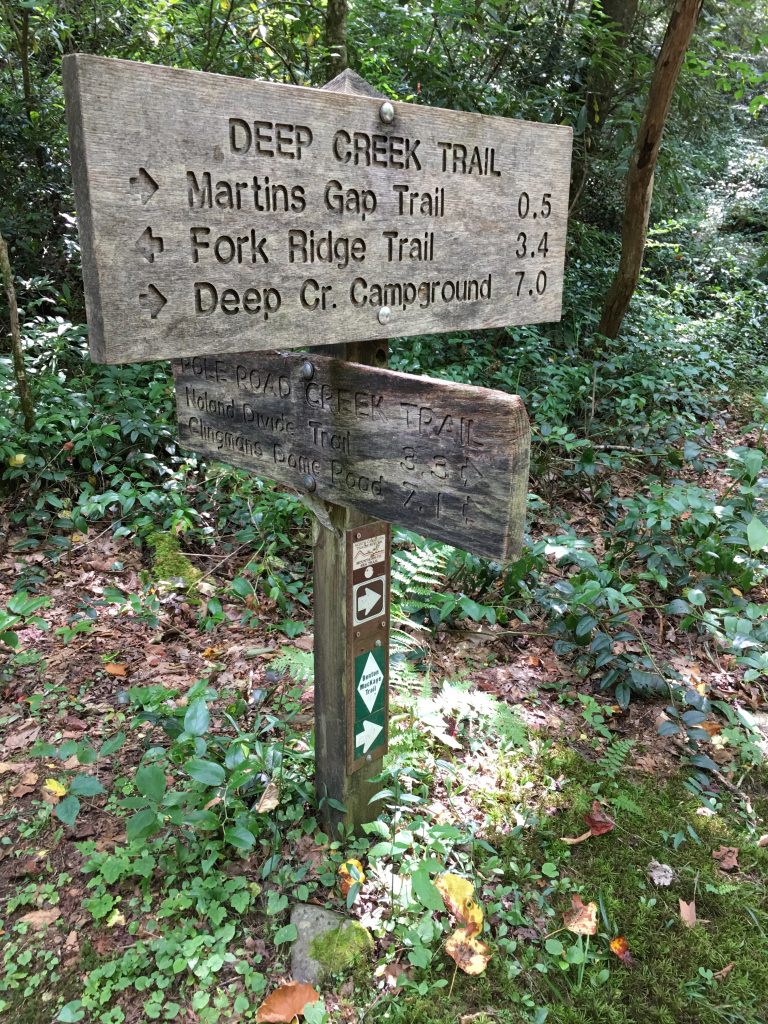
Then the Mountains-to-Sea Trail leaves the AT, crosses Clingmans Dome Road, and heads down the mountain on Fork Ridge Trail. More beauty, as this trail descends almost 3000 feet over the next 5 miles, to Deep Creek. If you’re not well-accustomed to this kind of descent, with a full pack, you need to take it VERY slowly, and take very short, deliberate steps. Odds are, you’ll still develop shin splints, as the shin muscles that control some movements of your feet will get radically more use than they ever have before. They will hurt. A lot. Sadly, there’s not much training you can do for this, other than to actually just do it. Maybe I’ll figure out a way to modify my treadmill to simulate a 12% down grade…
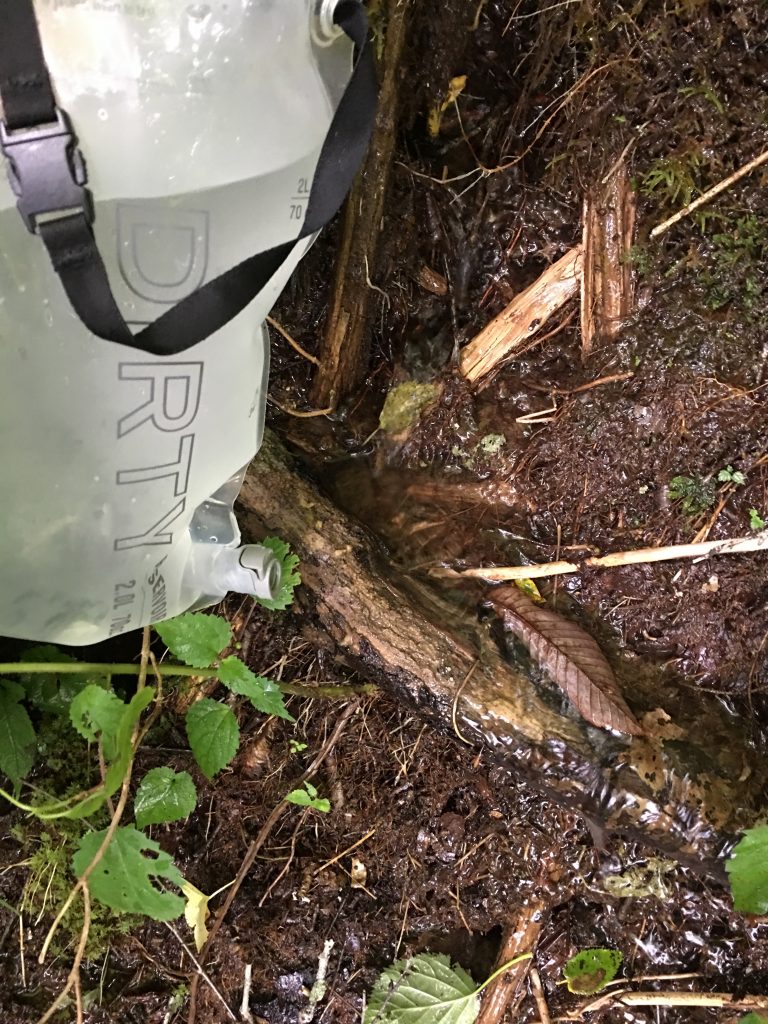
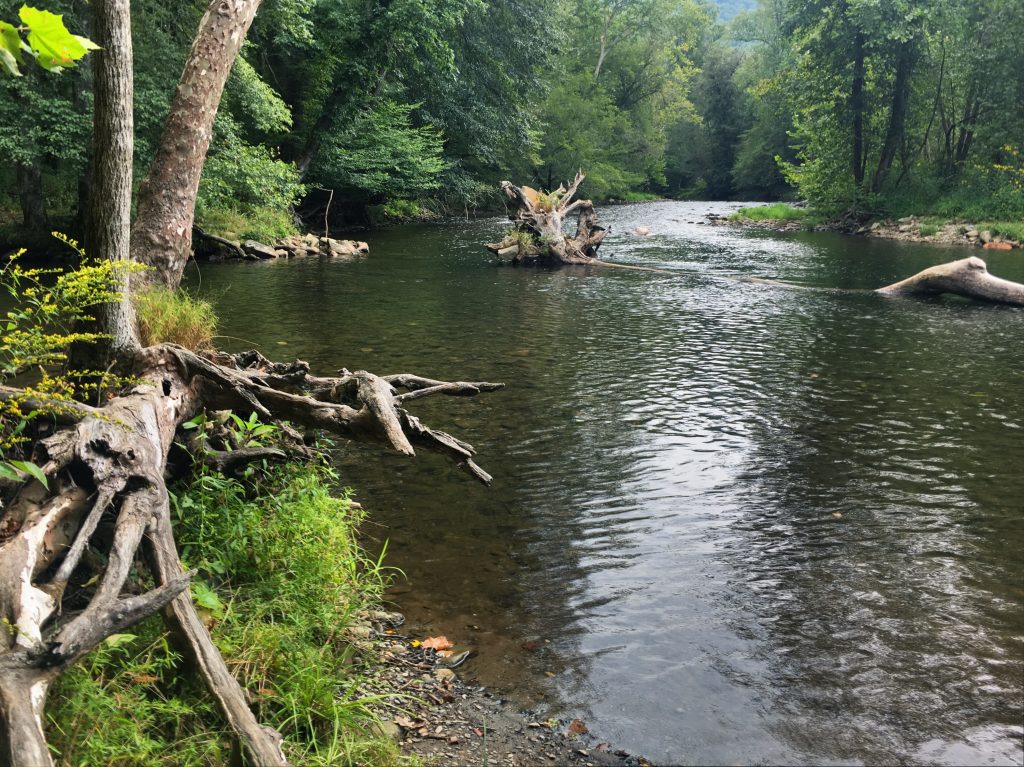
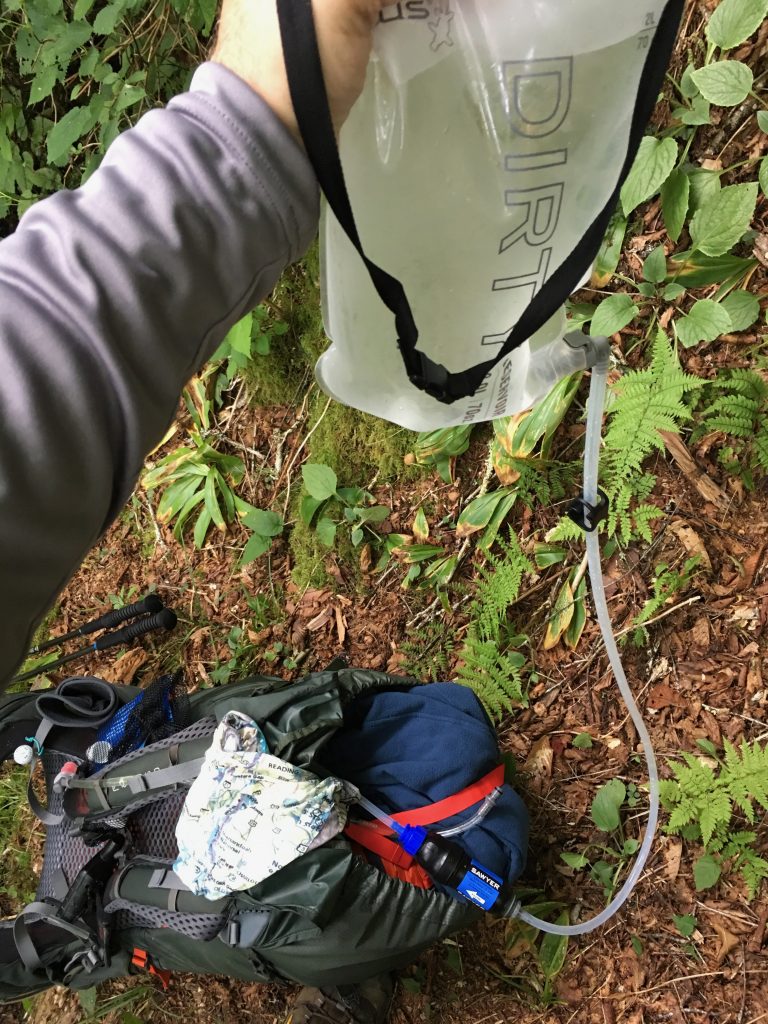
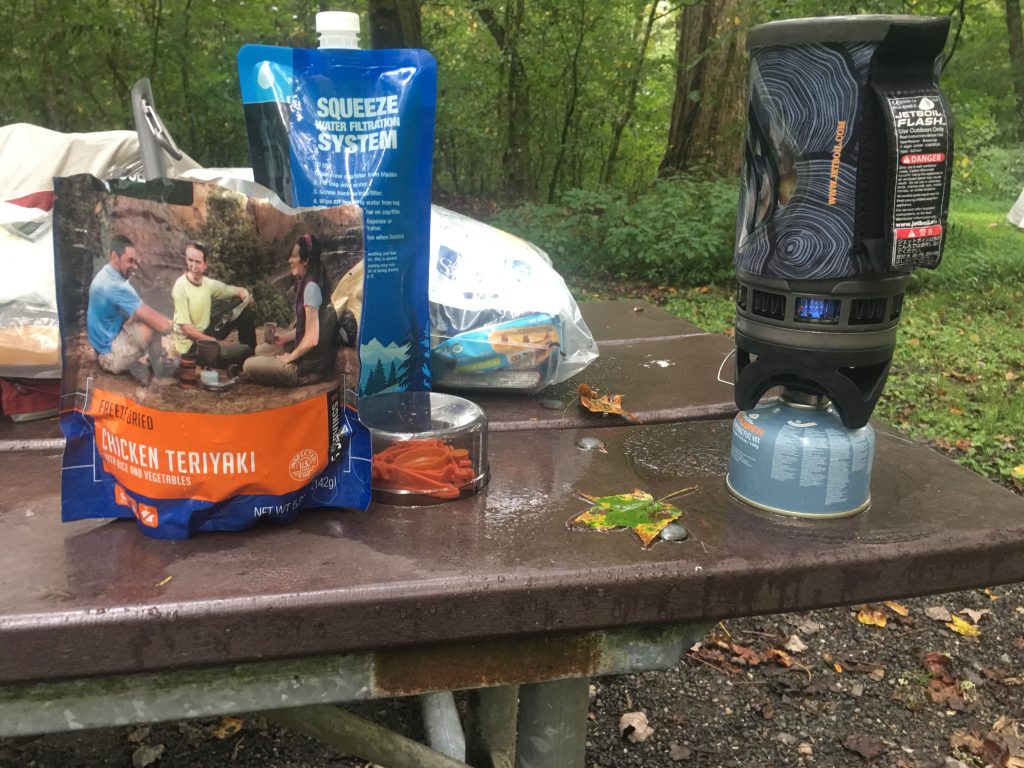
There’s a small stream at mile 6, this is your last chance to replenish your water supply before mile 9. I used my filtering rig to top off my reservoir.
Deep Creek
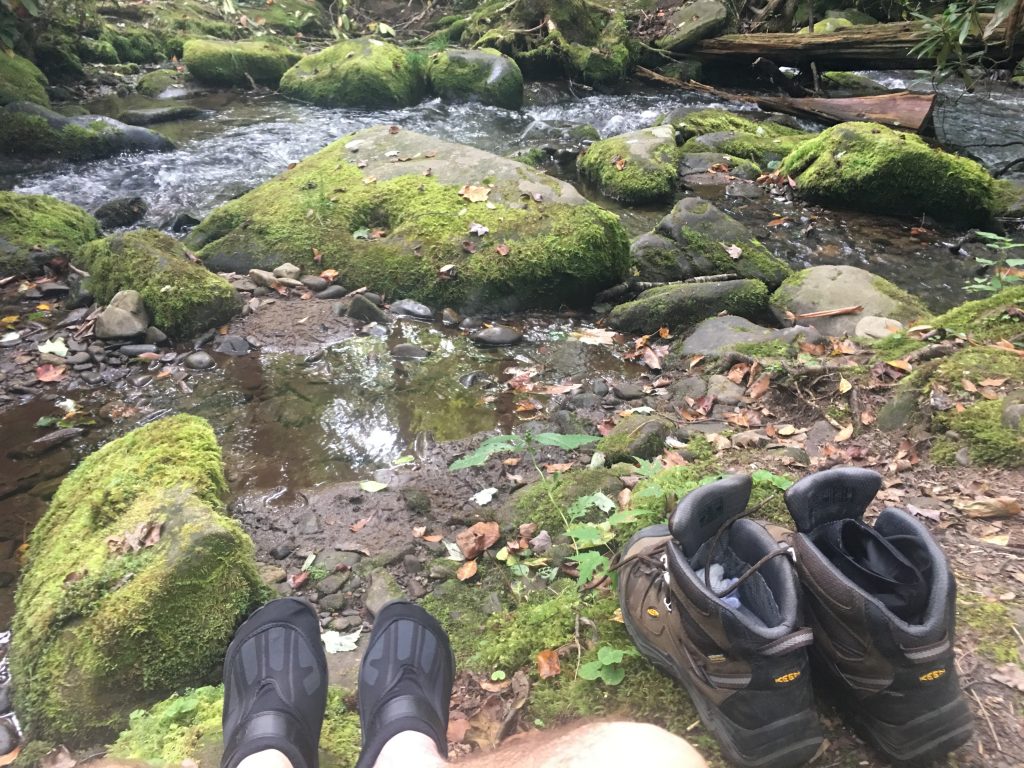
At about mile 9, you reach Deep Creek. This is the first of several creek crossings. While it may be possible to “rock hop” across this and other crossings, that’s pretty treacherous on wet, mossy rocks. If you fall with a full pack… it would be bad. It’s a much safer option to just wade across. Unless you’re hiking in very tall boots, it’s deeper than your boots are high. There are various strategies for this… all of them rely on your trekking poles for support. Some people just wade across in their boots and socks… and change socks on the other side. Some remove their socks, remove the foam insoles from their boots, put the boots back on, and wade across. This provides the best support, but guarantees you’ll have soaked boots. If you have “waterproof” boots, the downside is they will dry out VERY slowly. They’ll probably be damp on the inside for the rest of your hike. Some people change into water shoes. Some people wear heavy garbage or trash compactor bags over their boots and legs, like waders.
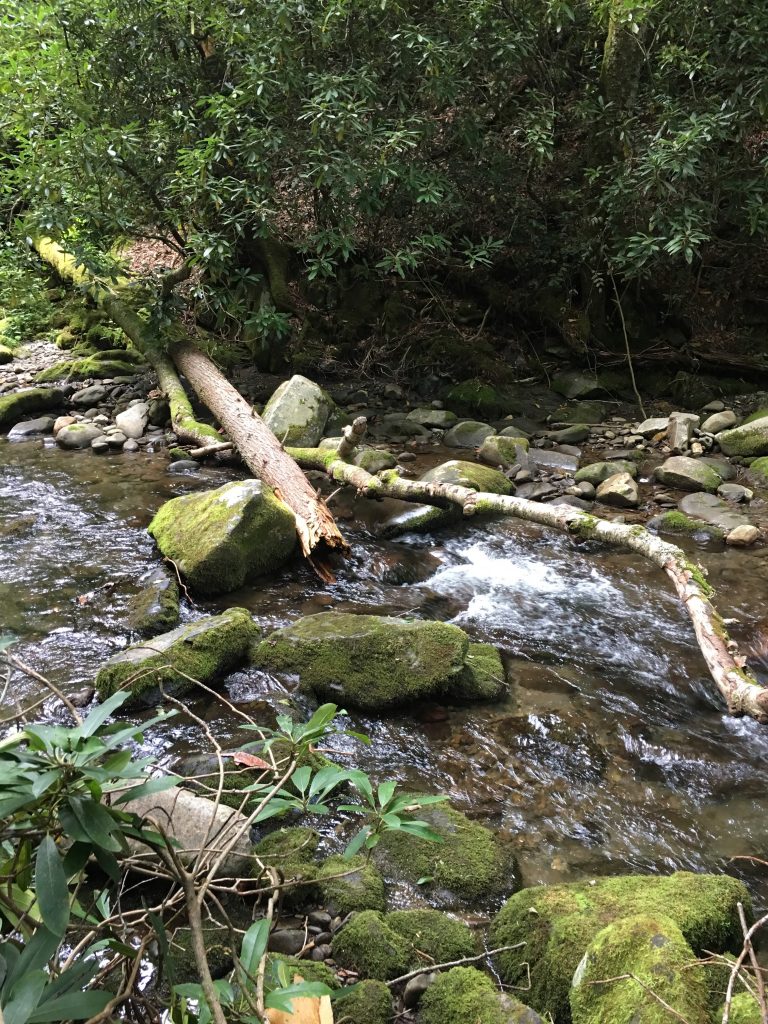
Well, I found a route where I thought I could use logs and rocks to cross, without getting wet. I was wrong… each boot went in the creek once. Didn’t get totally saturated, but did get socks and boots a little wet. Lesson learned; what would be easy normally, isn’t when you have a 40 pound top-heavy pack on your back.
Night 1
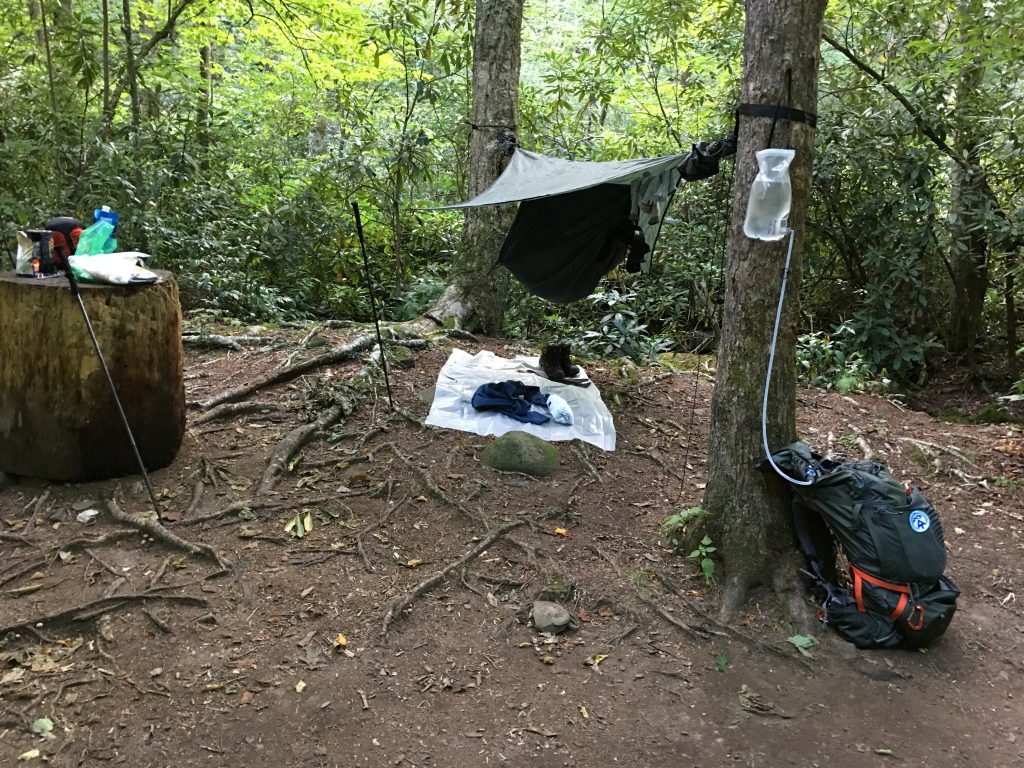
Immediately across the creek is backcountry campsite #53, Poke Patch. I had planned to go another 3-4 miles this day, to campsite #56 (Burnt Spruce)… but it was already getting late (took 9 hours to go 9 miles) and my left shin really hurt. The campsite was deserted, so I decided to call it a day and stay here. While my reservation and permit were for another site, I wasn’t too worried about the details at this point. I knew that stopping here meant I’d need to adjust my plans for the rest of the trip… but this is what happens when a plan meets the realities of the trail.
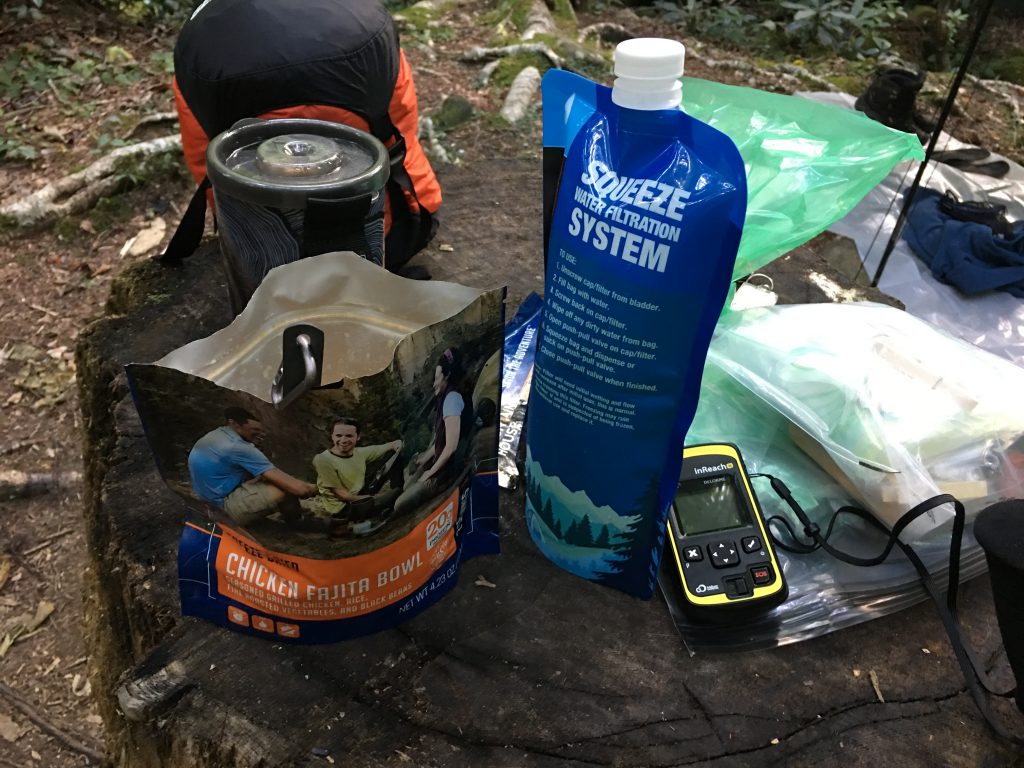
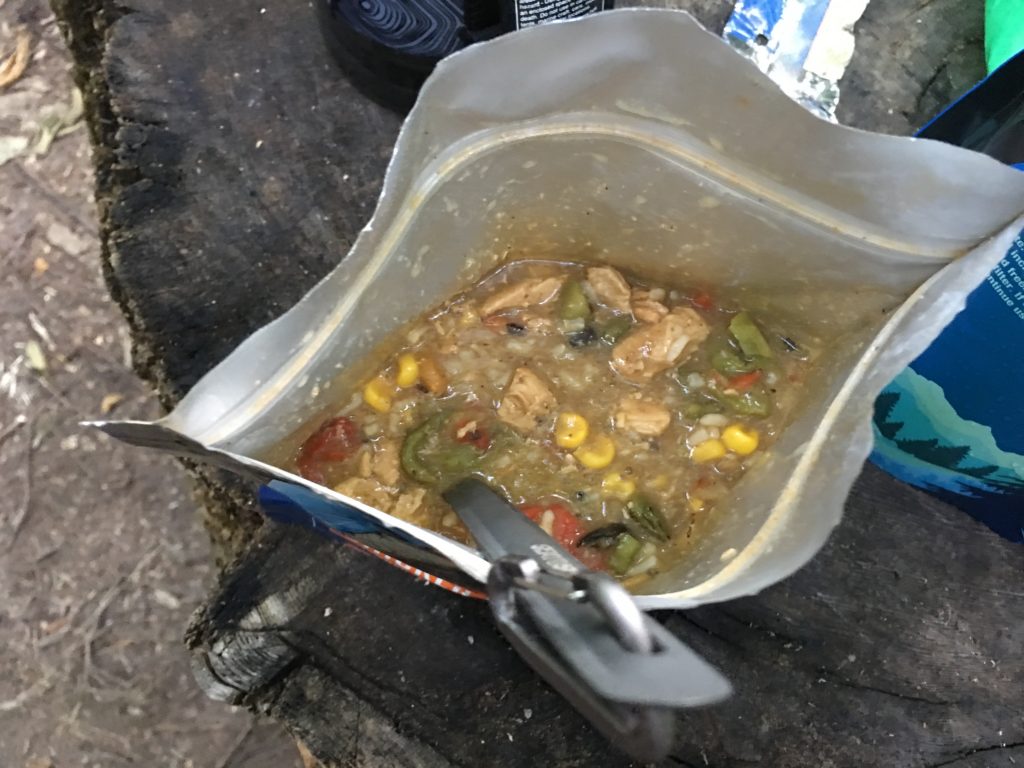
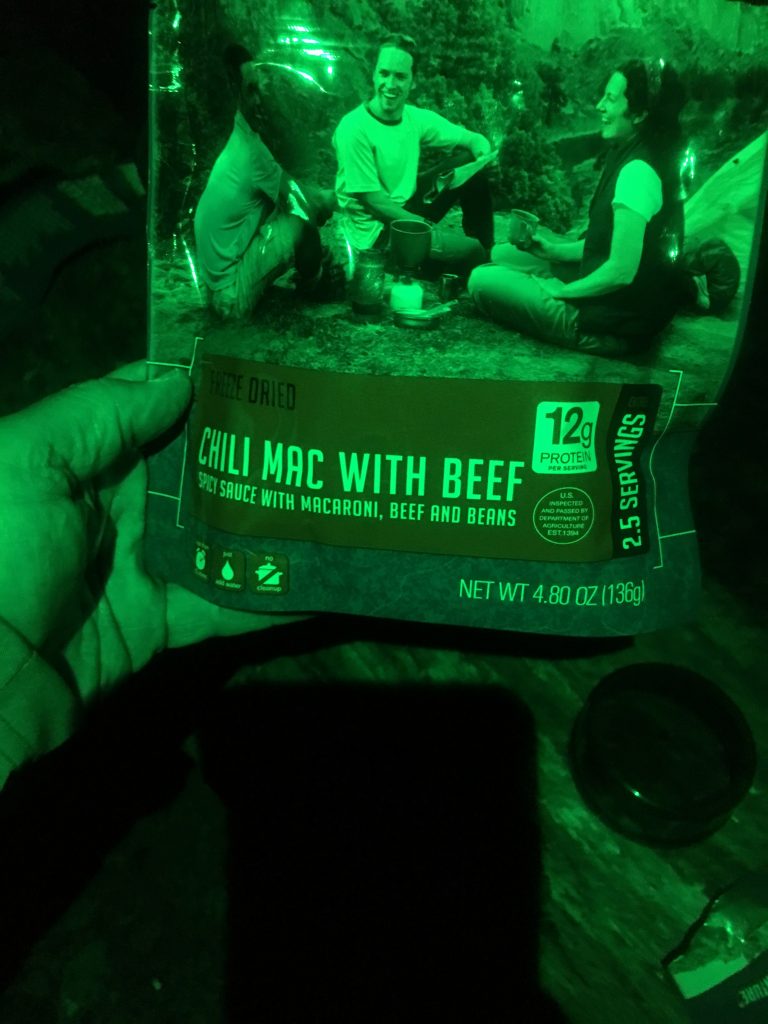
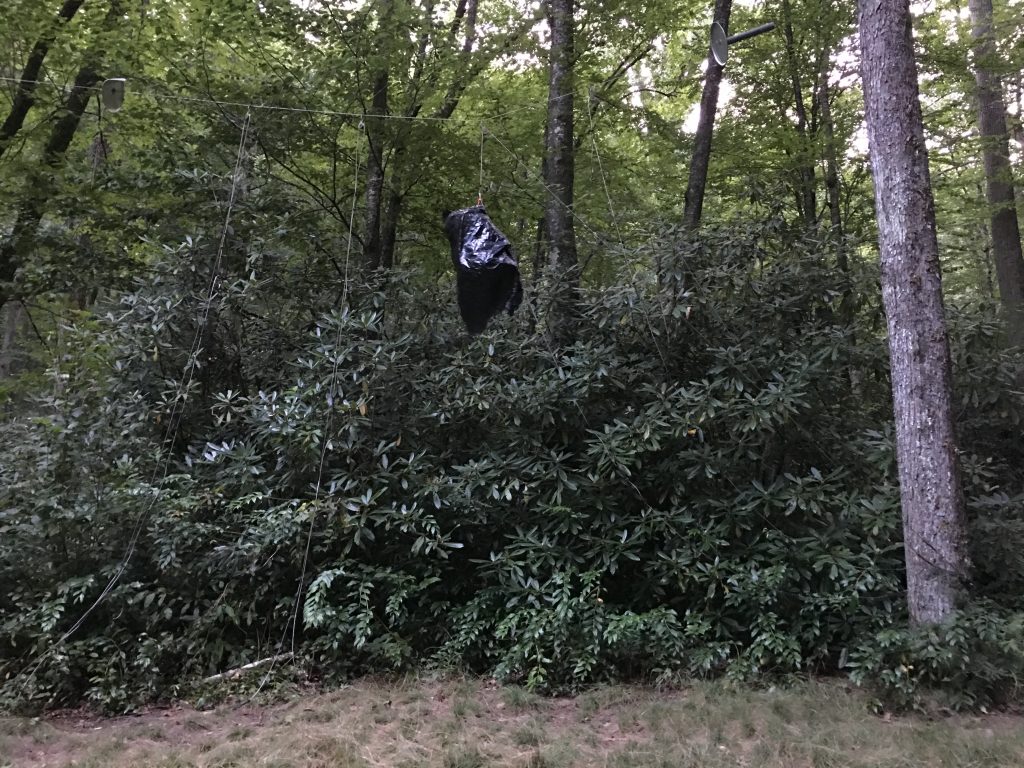
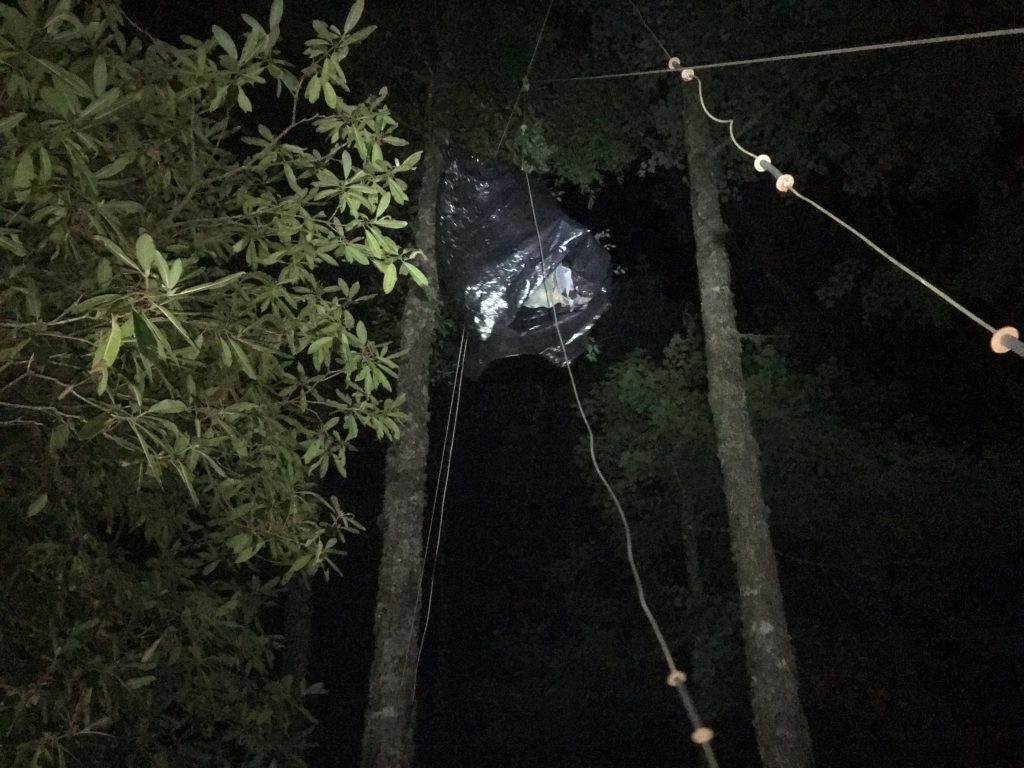
I setup camp, and used my Delorme/Garmin InReach communicator to let my wife know what was going on. I also had her play “travel agent” and check campsite availability at the various sites and nights I would need, for my revised plan going forward. Hung the hammock beside the creek, had a nice freeze-dried dinner, packed everything up and hung my pack from the bear cables.
I use a carabiner to connect the pack onto the cable for added security… some bears have learned to “bounce” the cables to get the packs to “jump” off the hooks. A large, inverted garbage bag (with a slit for the pack’s haul loop) keeps everything dry if it rains overnight, and sheds any small critters that manage to jump onto the pack while it’s hanging.
Day 2
Next morning, and my left shin screams with every step. But after an hour or so of hobbling around camp, and giving the ibuprofen time to work, it gets better. I break camp and continue down Deep Creek Trail.
There are several signifiant creek crossings over the next 3.5 miles, and countless small streams and muddy areas. At the first one, I changed out of my boots and put on my water / camp shoes. I slathered my feet in “hiker goo” to shed water and prevent blisters. This turned out to be a very good thing… I wore the water shoes for the next 3 miles, far longer than I ever expected to wear them. And it was actually nice to get out of the boots for a while… your stride changes, you use different muscles, and it was easier on my aching shin. I just had to be very cautious with every step, since a rolled ankle here could be disastrous.
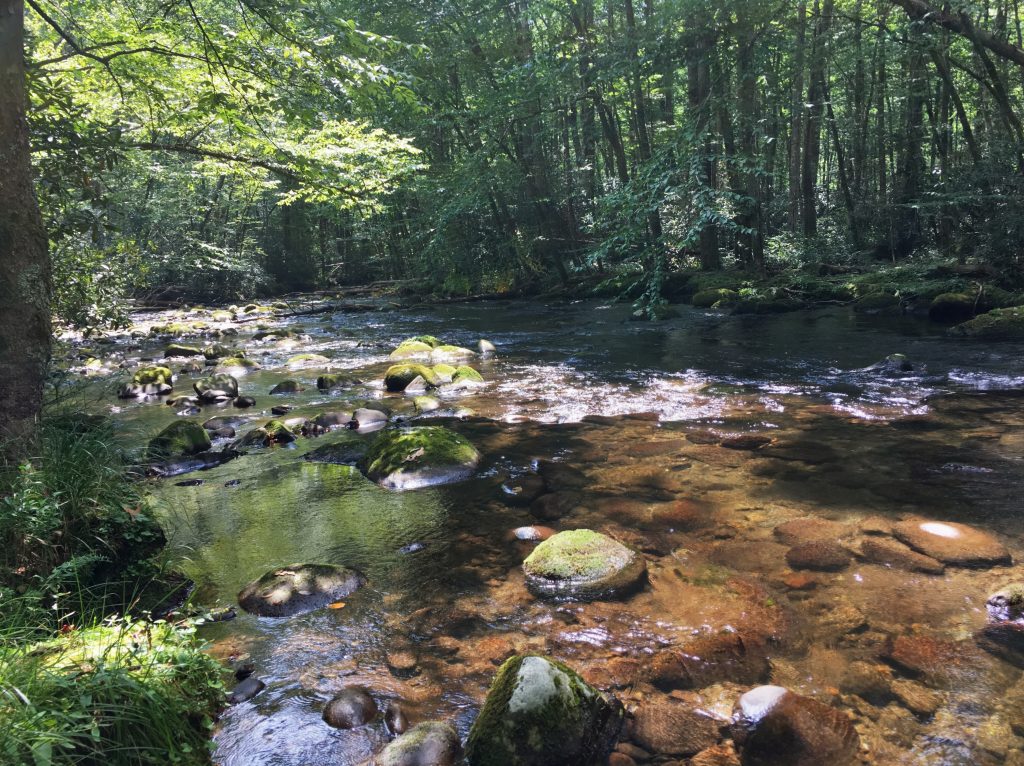
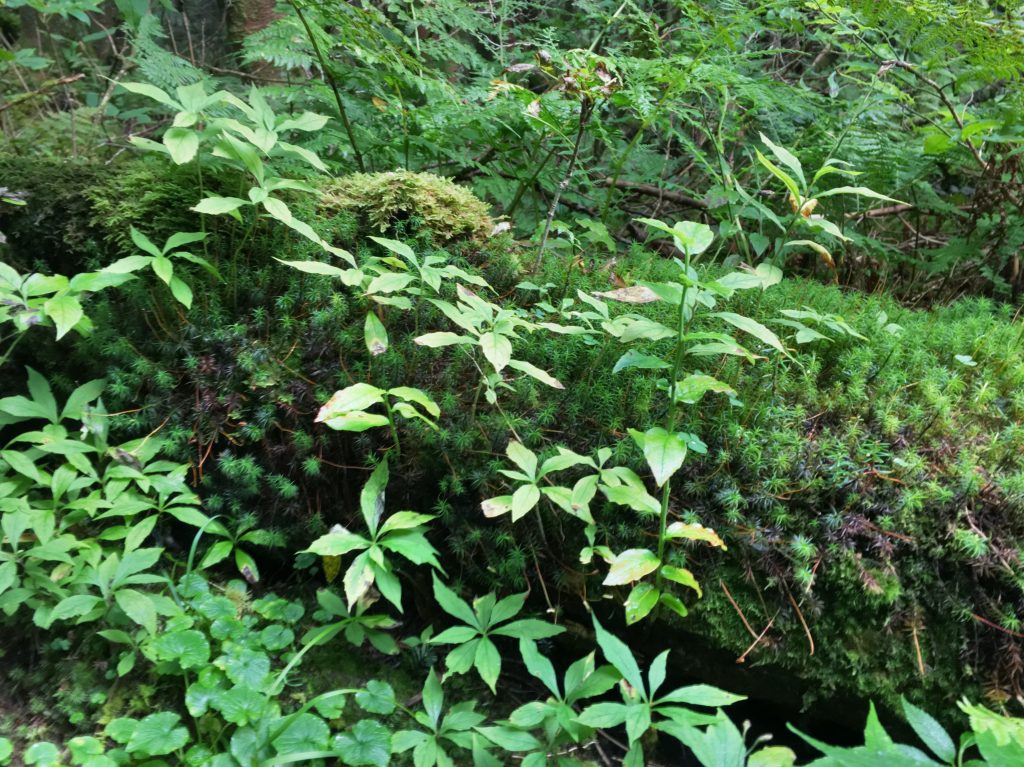
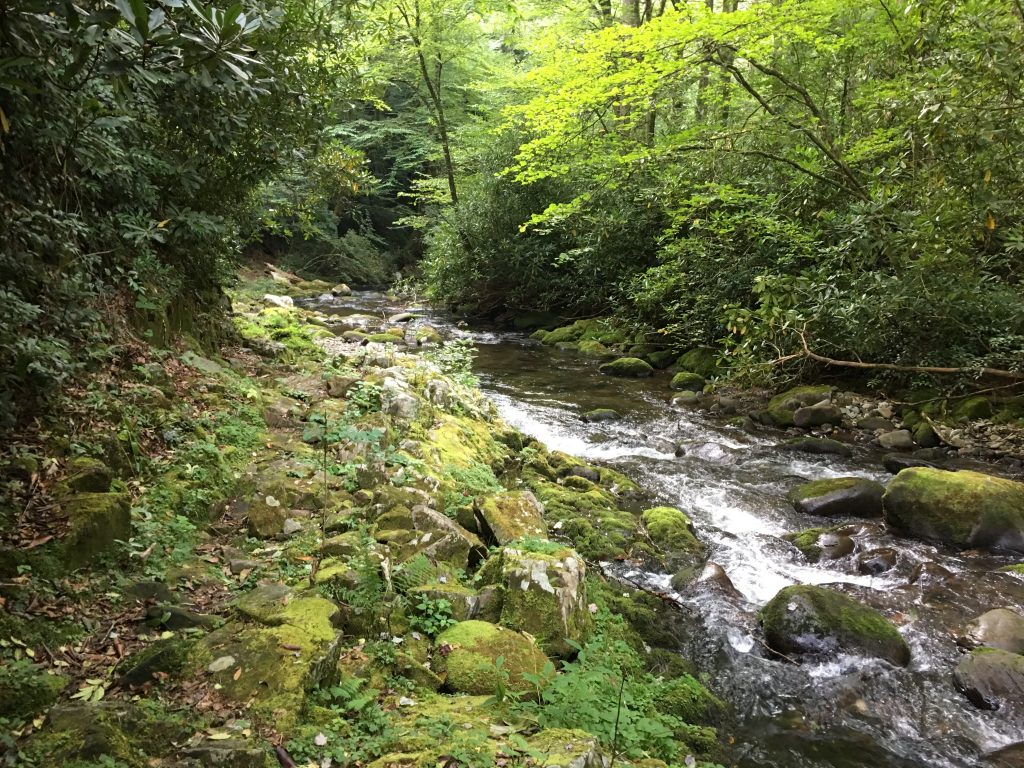
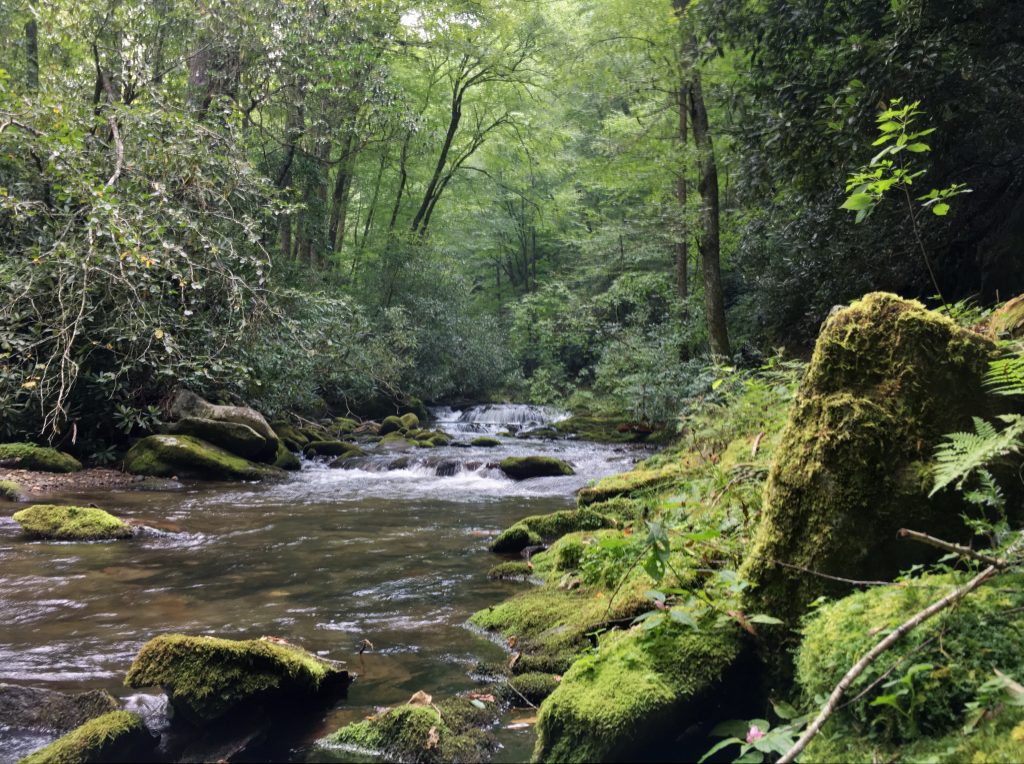
At several places along the Deep Creek Trail, you leave the soft dirt bank and scramble across the mossy rocks along the creek’s edge. It’s treacherous… and awesome. Ridiculously beautiful creek, with every shade of green you can imagine.
After a few miles, you get to a bit “flatter” area where there are a few more backcountry campsites (#54, #55, #56). I put my boots back on here. I refilled my water supply from Deep Creek, before leaving the creek and turning up the mountain on Martins Gap Trail. Note that that MST River Valley Route (1B) continues straight here; this is where the two routes diverge.
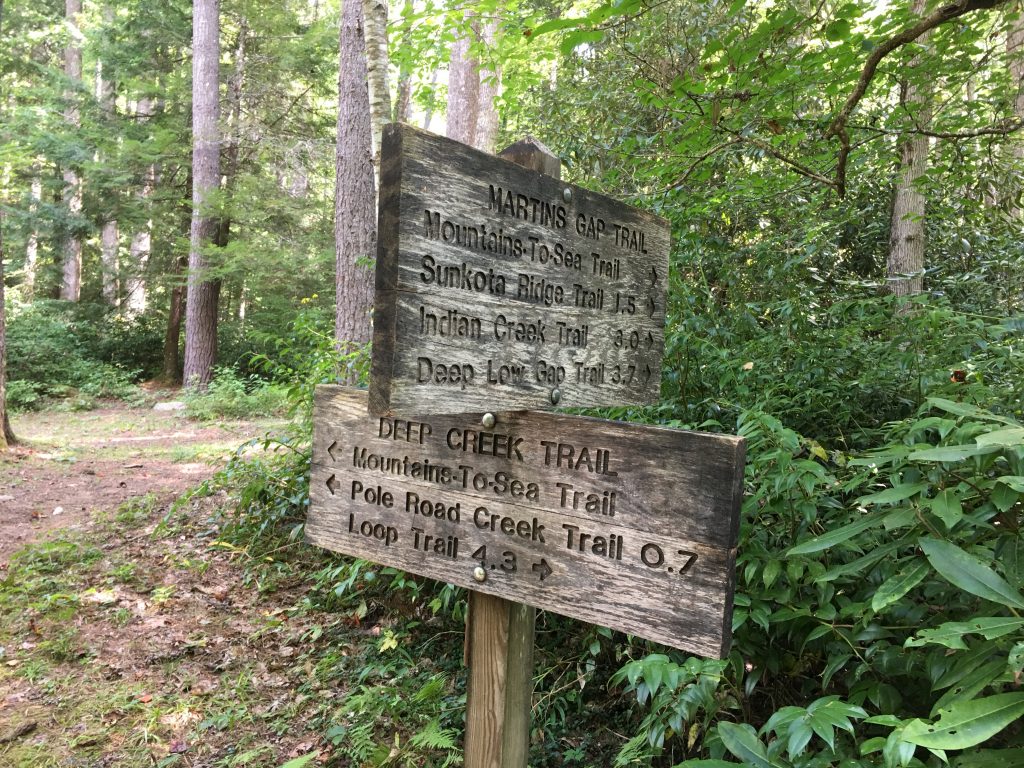
Martin’s Gap Trail
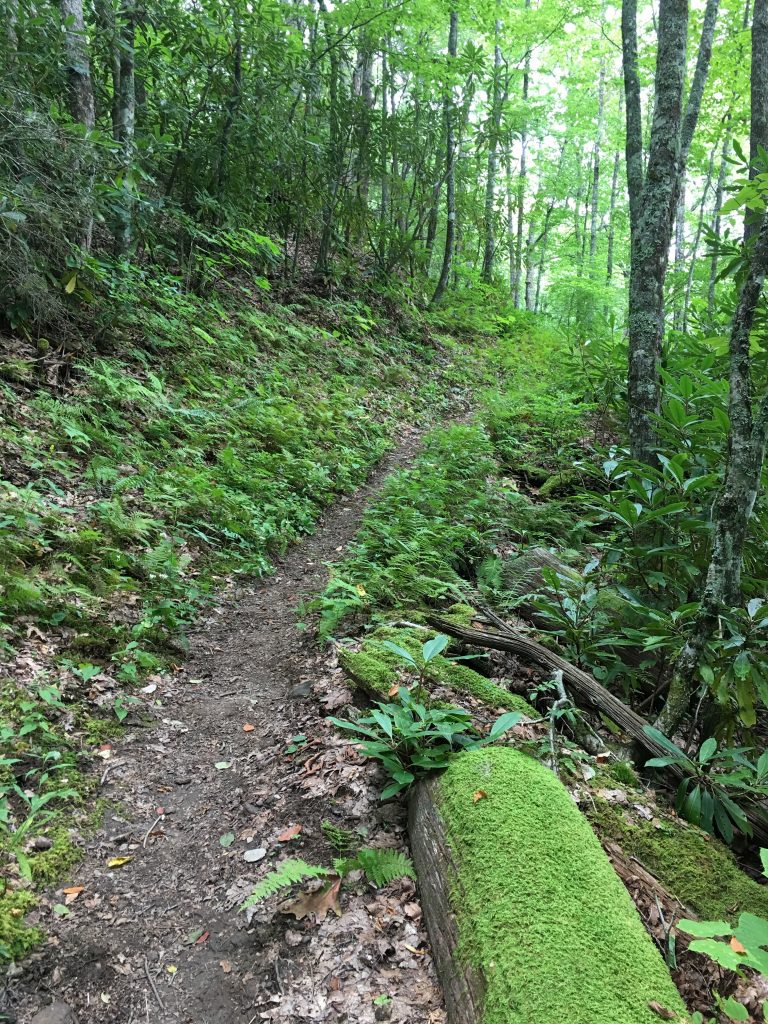
Martins Gap Trail is like the pack animal road of death. It’s a very narrow, single track horse trail. There are many areas where the trail is about a foot wide, with the mountain rising up on one side and a precipitous drop on the other. And several of these have hoof prints breaking through the edge of the trail, down the slope. I can’t imagine riding a horse on this trail. It’s terrifying. It climbs over 1000ft in about 1.5 miles.
Sunkota Ridge Trail
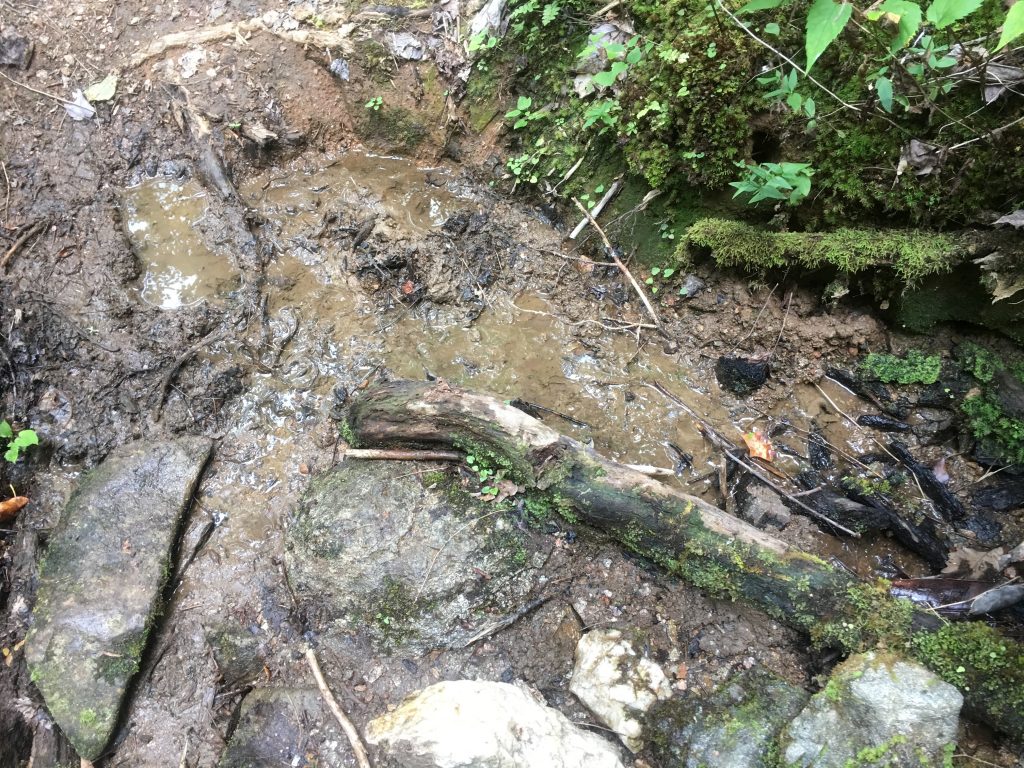
At the top, the MST turns left on Sunkota Ridge Trail. On the day I was there, there was a very small trickle of a spring about a mile down Sunkota Ridge (and about 4.5 miles from my destination, Newton Bald). That was the only water I saw between Deep Creek (MST mile 13) and Newton Bald (MST mile 20). I captured a liter of it in my “dirty” water bladder, just in case. I was glad I did… because I ran out of clean water about a mile from Newton Bald, and had to filter and drink it. It tasted like the runoff from a compost pile. And I was thankful for it.
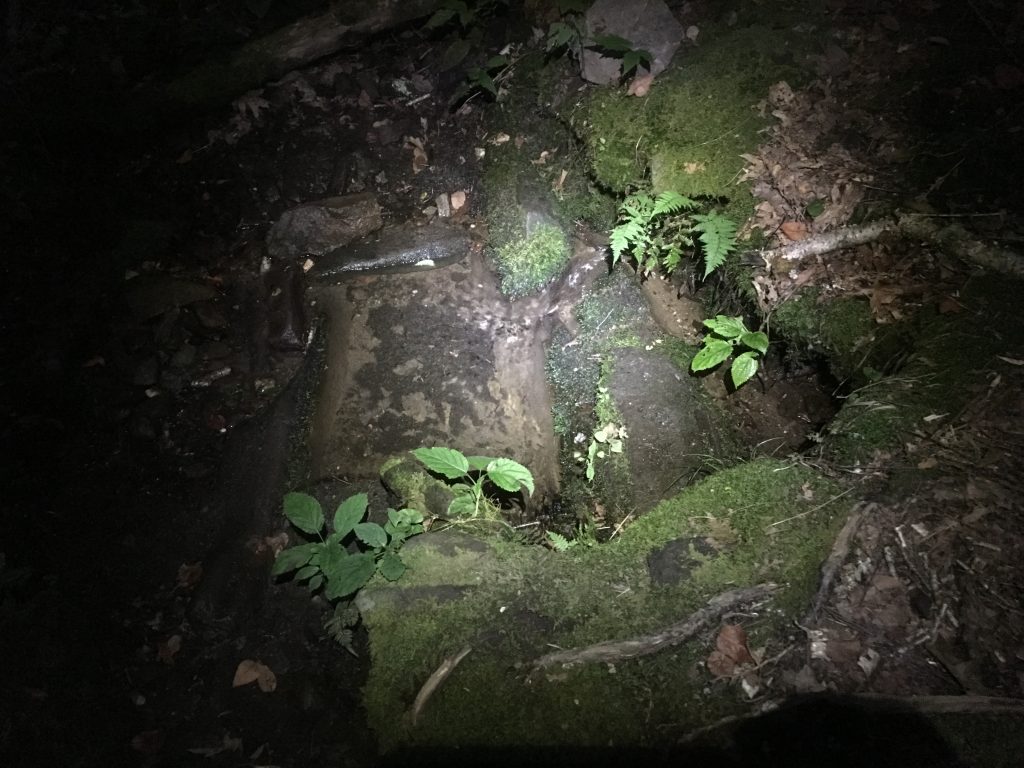
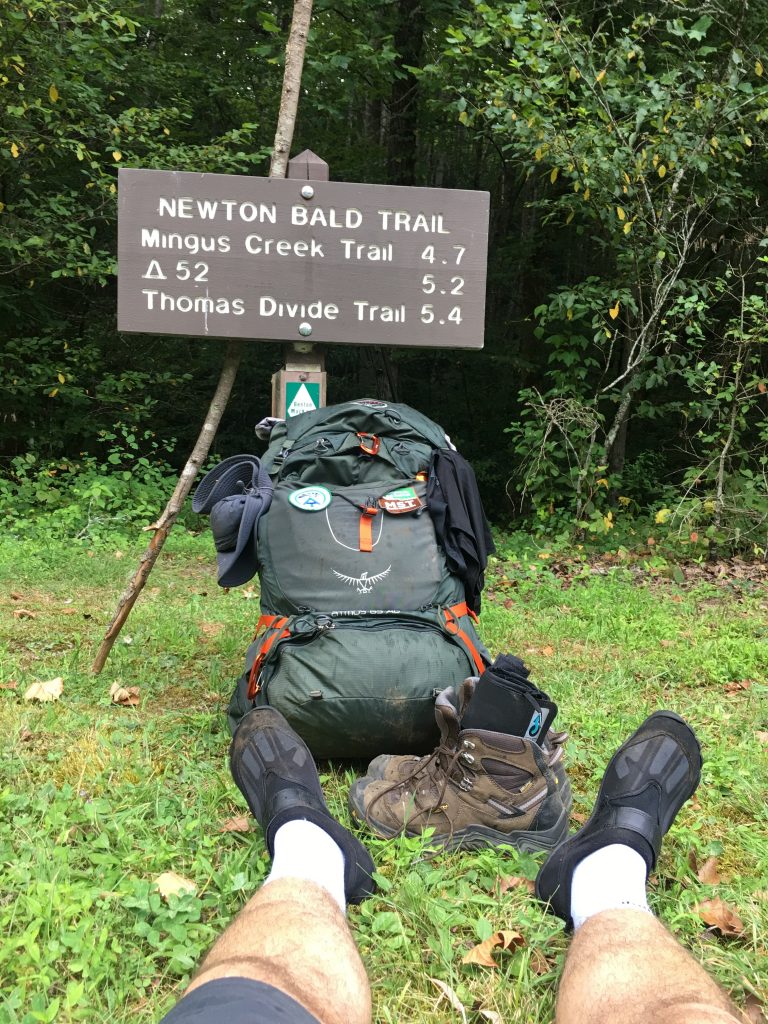
Day 2 was a slog… 11 miles, 11 hours, about 500 feet of descent and about 2500 feet of ascent. But I enjoy climbing much more than descending, it’s much less painful, and my conditioning is pretty good.I got a late start at about 9AM, and it was dusk when I reached campsite #52 at Newton Bald. At #52, there is a very good spring, but it’s down a VERY steep spur trail that leads a few hundred yards down the mountain. Water was my #1 priority here. I emptied out my pack and only took my water gear, my trekking poles, my headlamp, and my satellite communicator. It was getting dark by the time I made it down to the spring, and was pitch black for the climb back up to the campsite. I was thankful to have my poles, and to not have the full pack for this climb, it would have been nearly impossible.
Newton Bald
I setup camp and made dinner in the dark, by light of my headlamp. I was very thankful to have a good headlamp… don’t ever scrimp on such things. I hung the hammock, hung my pack, and went to sleep. It was a tough night. I slept fairly well, but woke up a few times COLD. It got down to about 50F, but there was a constant breeze, and the wind chill was really sucking my body heat through the bottom of my hammock. The hybrid mylar/fleece sheet I was using for hammock insulation wasn’t sufficient for these conditions. I’ve remedied that for my next trip.
Day 3
Morning Three was cool and foggy. And I could barely walk when I first got up. Took some ibuprofen, hobbled around for a couple of hours, and things loosened up a bit. I had breakfast, packed up and headed across the ridge toward the Newton Bald summit.
At the top of Newton Bald, I was surprised by a family of wild boar who came across the top of the ridge about 30 yards from me. They saw me, kept their distance, and headed back over the top of the ridge. It took me too long to get my phone out, but I got a little video of them departing.
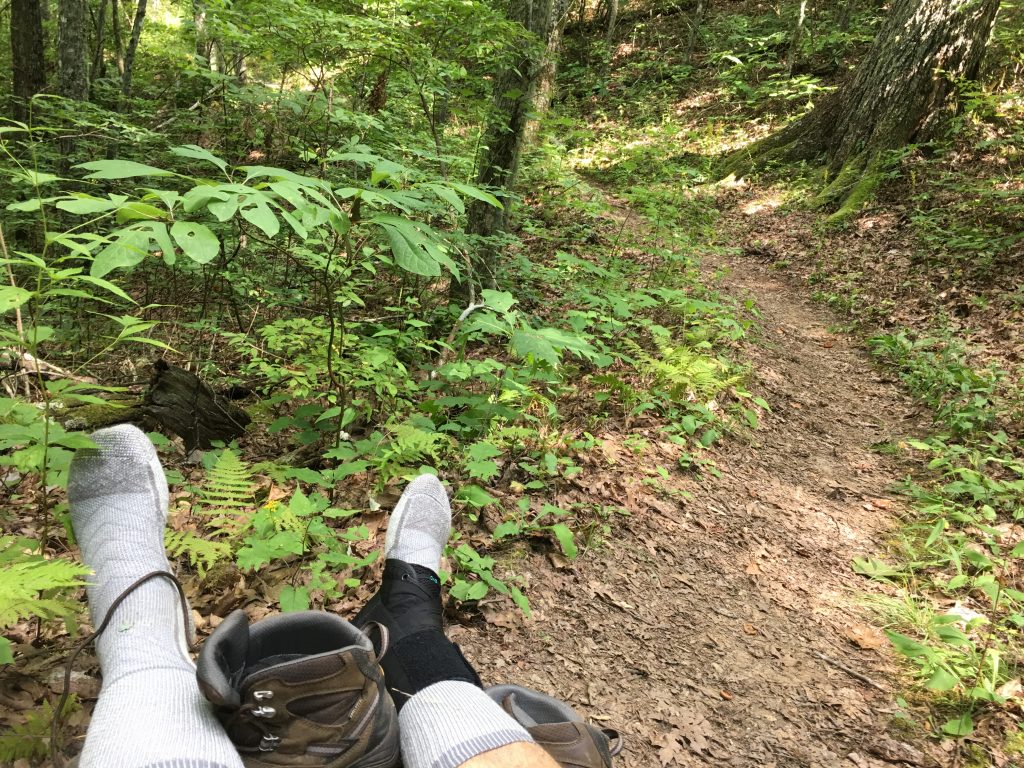
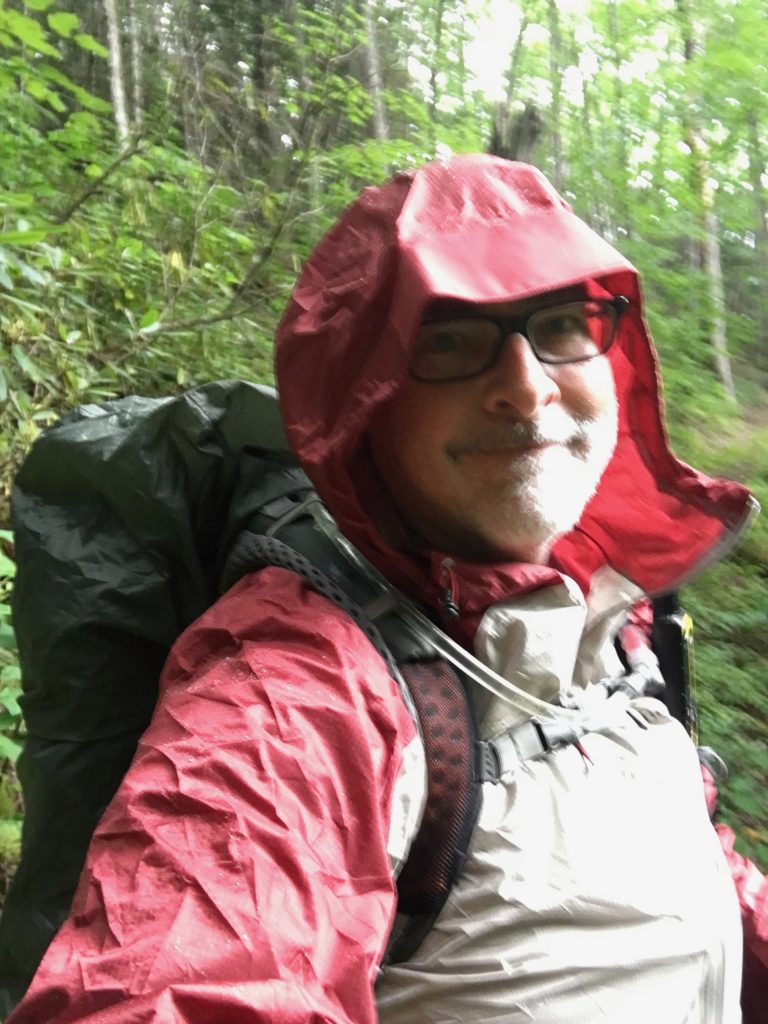
Newton Bald Trail is beautiful, but it descends almost 3000 feet over 5 miles, down to the Oconaluftee River and Smokemont. Descending is what my shins hate most. About halfway down, my right shin started hurting also. I hobbled down, VERY SLOWLY, taking tiny, deliberate steps like a very old man. It took me 8 hours to descend the mountain. I’m simultaneously embarrassed and proud of that fact. I never imagined I could hike so slowly… but I’m proud of toughing it out through the first 25 miles of the MST, with my shins hurting for about 19 of that. About 2/3 of the way down, it started raining… so I finally got to test my raingear. It worked like a charm. At the bottom, I dropped my pack, shed my boots, and collapsed into the grass beside the highway for a few minutes.
Smokemont
My revised plan had been to hike another mile or so to Lower Chasteen campsite. I decided to stop at Smokemont instead, have a slightly more civilized night, and assess my condition in the morning. It was a good call. Being in a more civilized place, and knowing I had more options for what to do tomorrow, raised my spirits.
Day Four… Enough, for Now
In the morning, I could barely walk, my shin splints were so bad, in both legs. I took a fistful of ibuprofen and hobbled around while making breakfast. Just like mornings 2 and 3, my legs improved as I used them, and as the ibuprofen kicked in. At this point, it was apparent to me that my original goal of doing all of Segment 1A was overambitious, given my lack of shin conditioning. The rest of my body (and mind) were willing, but it would have been dumb to head into the backcountry with blown shins. It was only 20 road miles along US441 and the Blue Ridge Parkway to get back to my car. I decided to head back along this shortest route. If my legs held out, I’d hike it, and sleep somewhere along the parkway this night. If I decide my legs aren’t up to it, I’ll hitchhike. So I packed up, put on the pack, and started out.
My legs were feeling much better, around camp. But after about 3 steps with the pack on, I was pretty confident I wasn’t going to hike another 20 miles. The pack weight made all the difference. I was about done. I started walking out slowly, made it the half-mile out to US441, and put out my thumb. No one offered to pick me up for a few minutes, and I decided to start walking. I walked for about a mile, put up the thumb again, and a father and son stopped for me. They hauled me a couple miles up to the Oconaluftee Visitors Center. I hung out there for a few minutes, used the restroom, and walked the beautiful trail along the river up to the Blue Ridge Parkway.
On the Parkway, I put the thumb out again. Very little traffic on this section of the Parkway, late Monday morning. So I started walking again. About another mile up the BRP, a nice couple from Germany stopped for me. They were on a 1 year sabbatical, touring the Americas, and had hitchhiked while in Cuba. They were paying that forward. We had a very nice ride and talk together, up to Waterrock Knob.
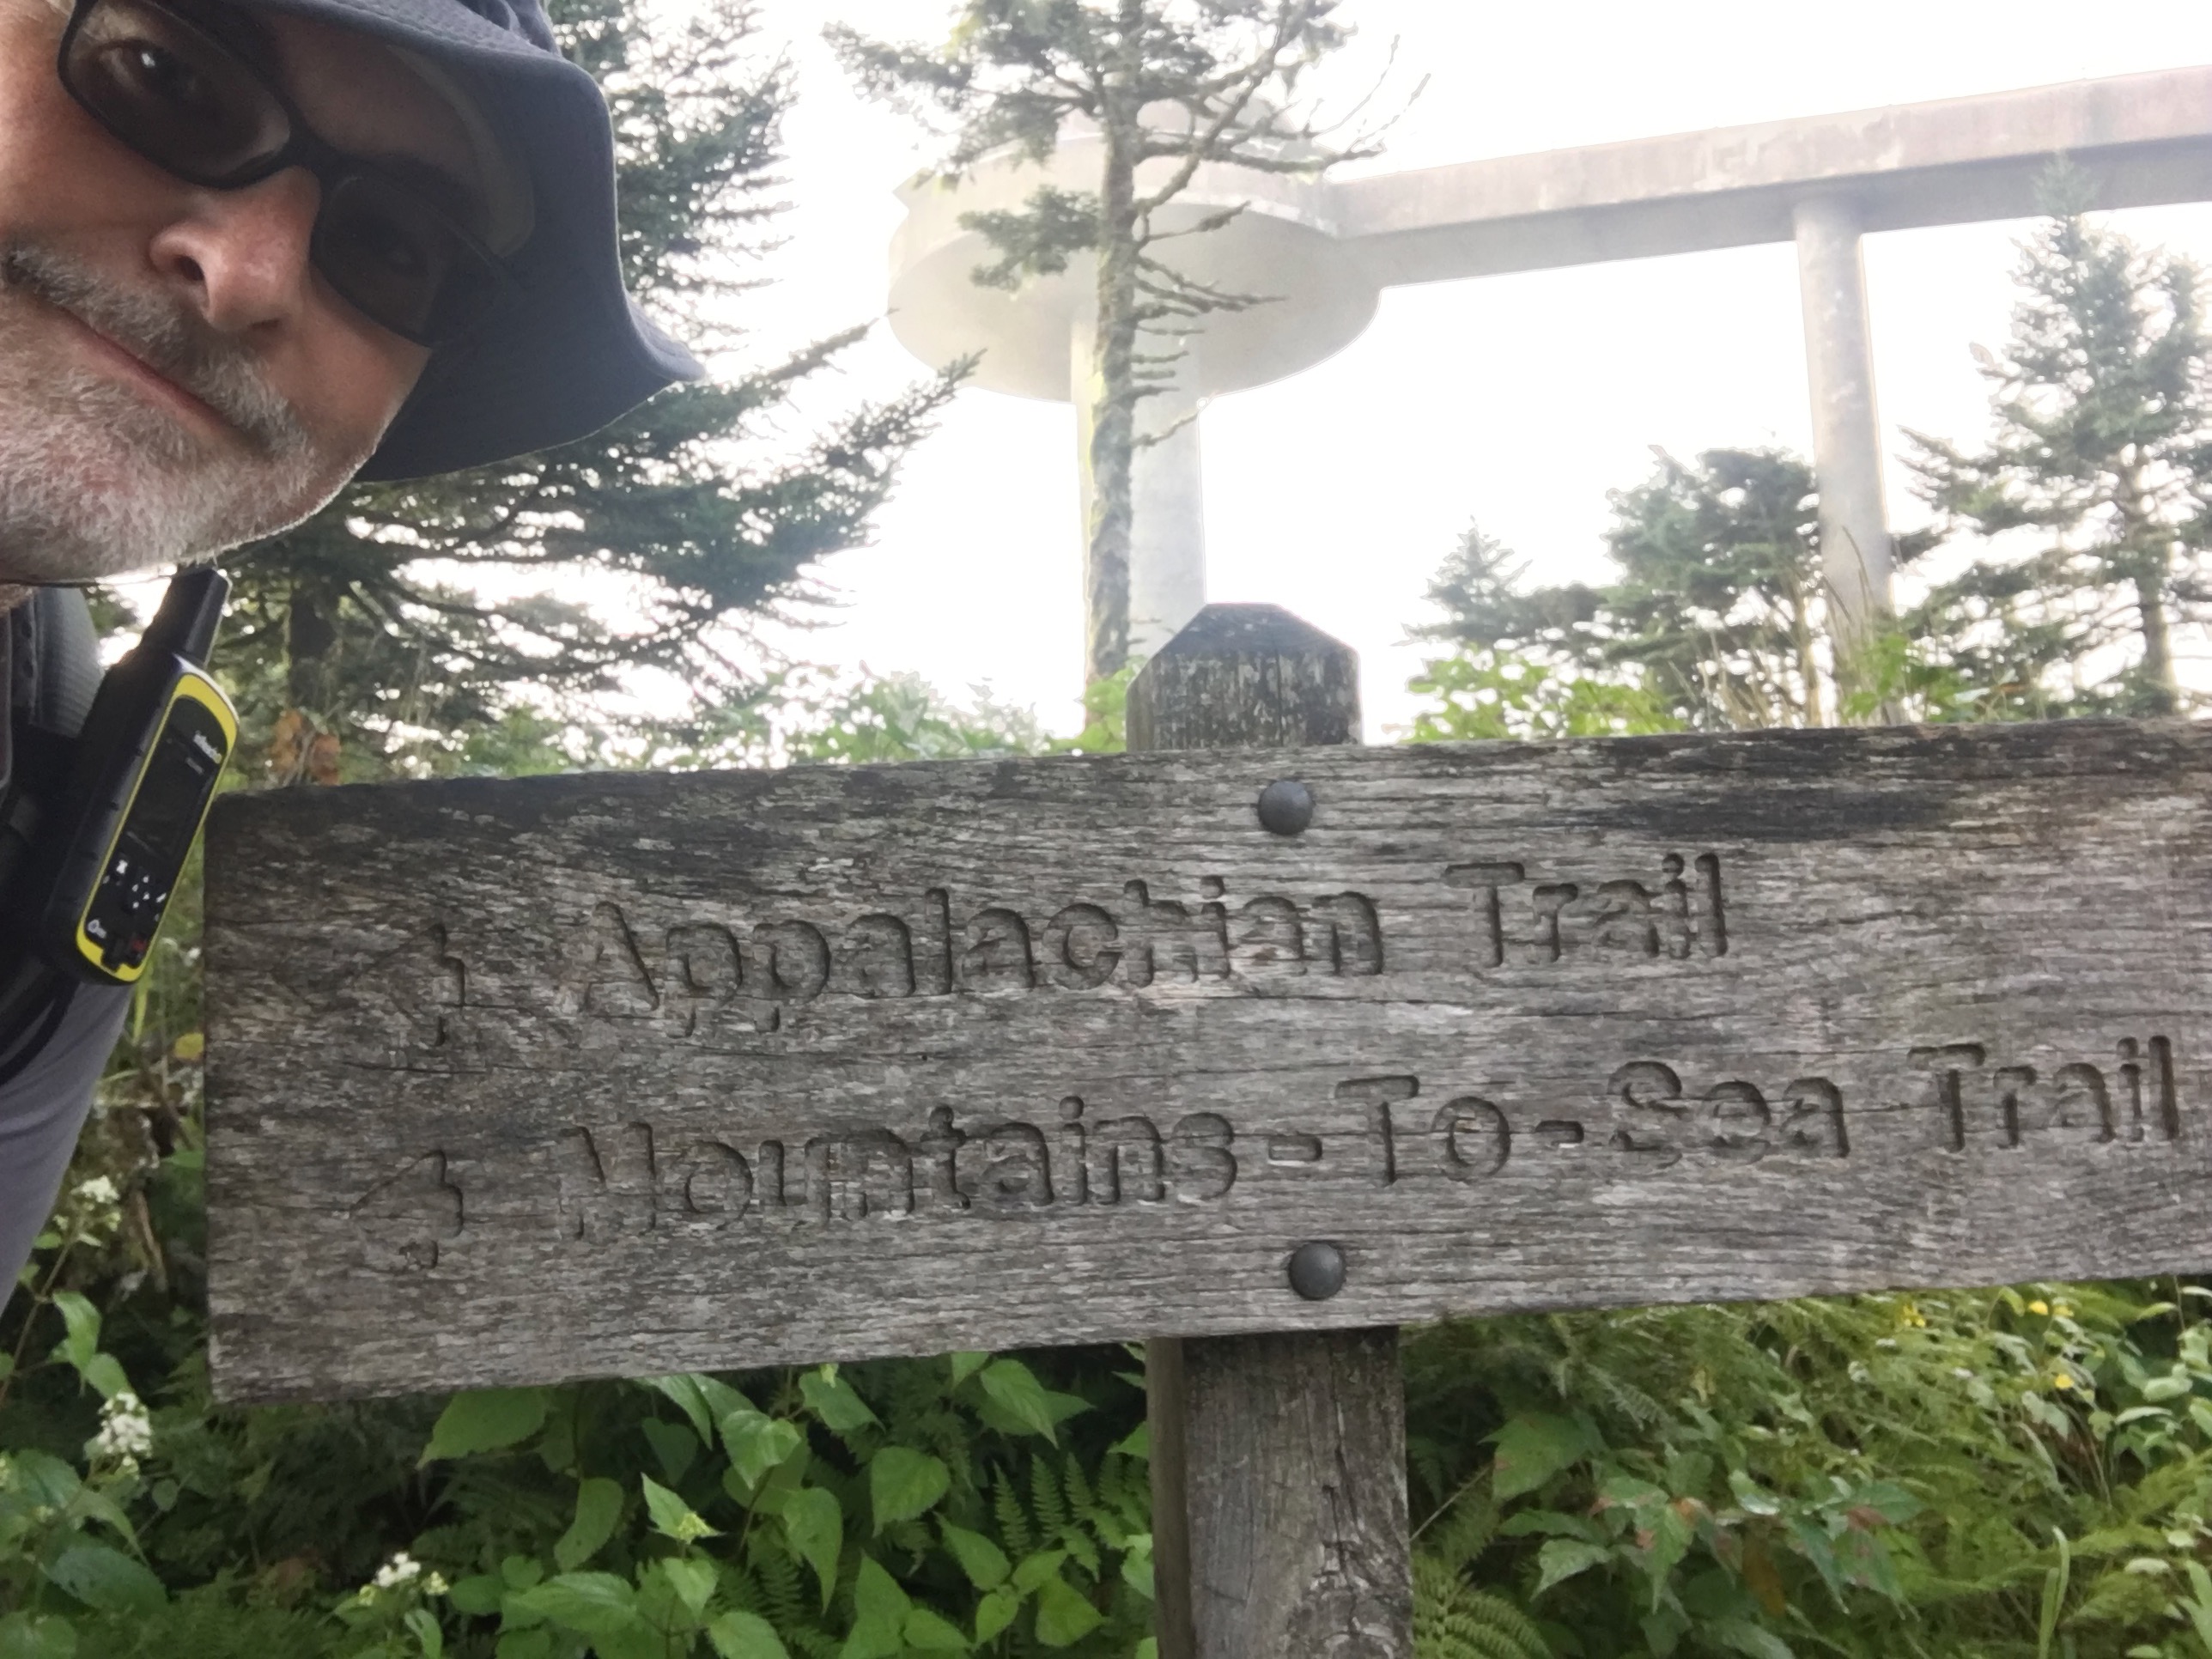
Waterrock Knob
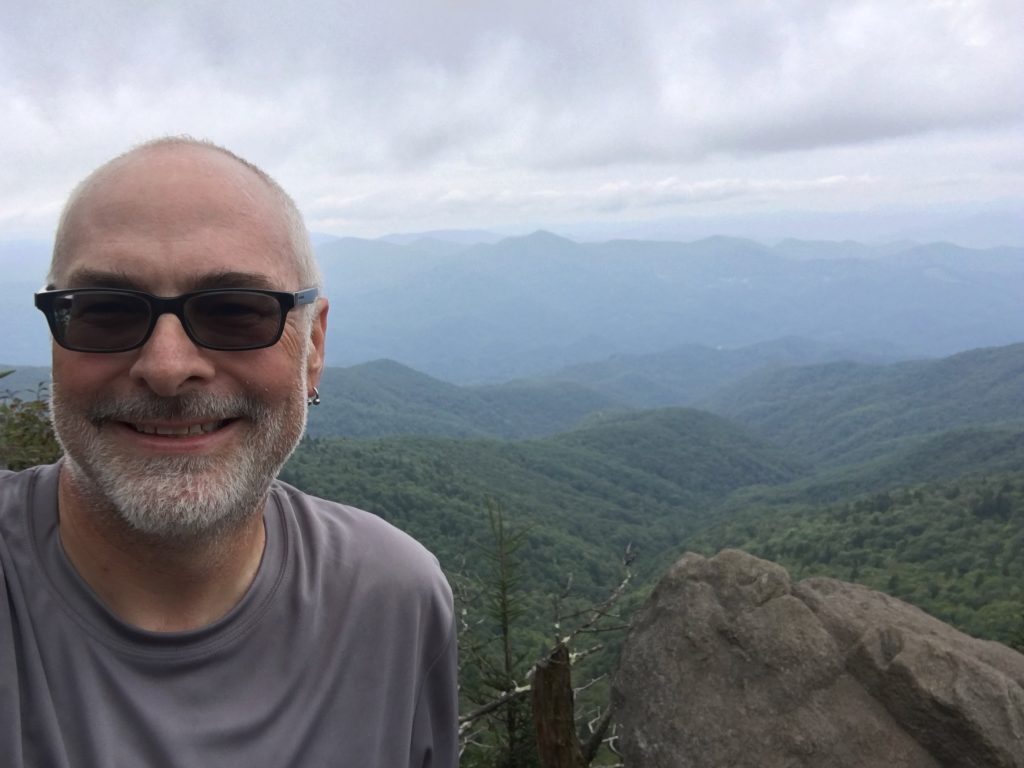
They were enamored with the views along the Parkway, and I suggested they hike the trail to the summit of Waterrock Knob. They did, and loved it. I hiked up also (knowing that coming down would suck) and took some pictures of them at the summit. I also took a selfie, declaring victory for completing the first 25 miles of the Mountains-to-Sea Trail.
I hiked back down to my car, passing the MST trailheads along the way. I’ll return soon, to do these the proper way.
Recap and Aftermath
While I didn’t complete all of Mountains-to-Sea Trail Segment 1A this trip, I’m proud of knocking out the first 25 miles. It was, by far, the hardest hike I’ve done, ever. It was great preparation for the rest of Segment 1A, once my shins recover. It was spectacularly beautiful backcountry that few people see (I encountered 4 humans over a 21 mile stretch during 2.5 days, after leaving the AT).
My FitBit stats for four days were pretty impressive:
- 118,000 steps
- 1065 minutes of physical activity
- 287 floors climbed
- 21,800 kcal burned
Fully hydrated, I lost about 3.5 pounds of body fat while on the trail. And, well, my shins…

I’m already planning to return in a few weeks and do the next 50ish miles of the Mountains-to-Sea Trail. It’s addictive. I’ve learned some things to improve with my equipment, with my hiking style, with my training, and with my expectations. I had originally expected to do the first 75 miles in 5.5 days. It took me 3 days to do 25 miles. I now expect to spend 6 days doing the next 50 miles, easing into things with relatively shorter hikes the first 2 days out, peaking on day 3, and getting shorter again over the next few days to finish. Luckily, the rest of this segment doesn’t have brutal descents like the two I did during the first three days.


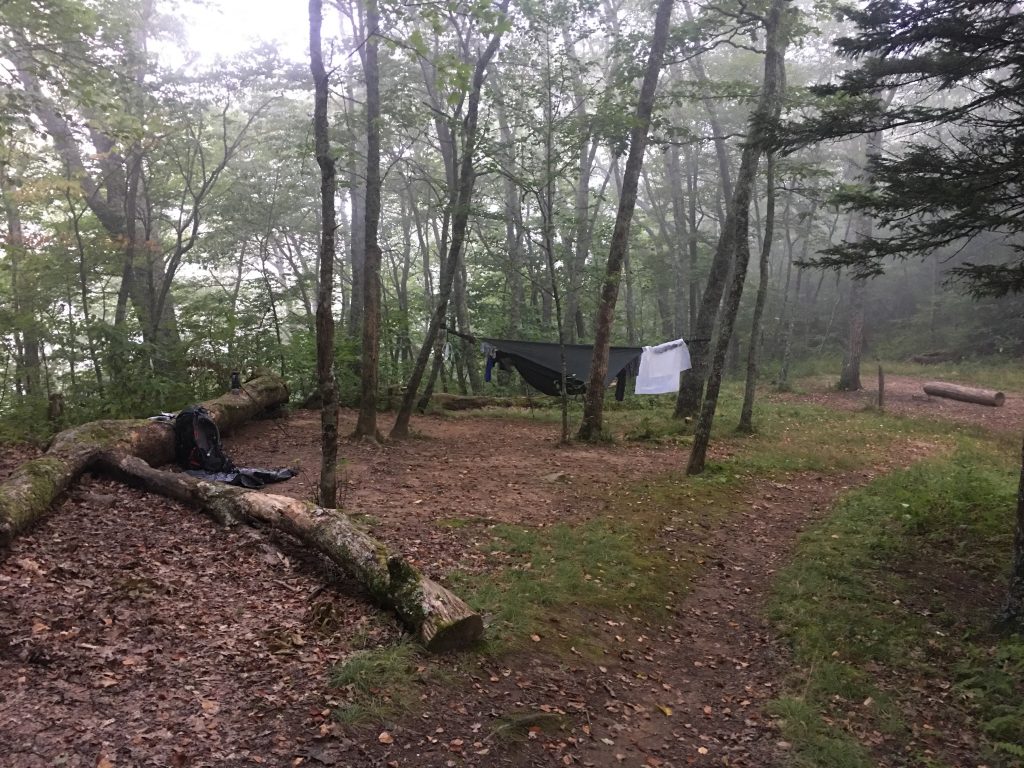
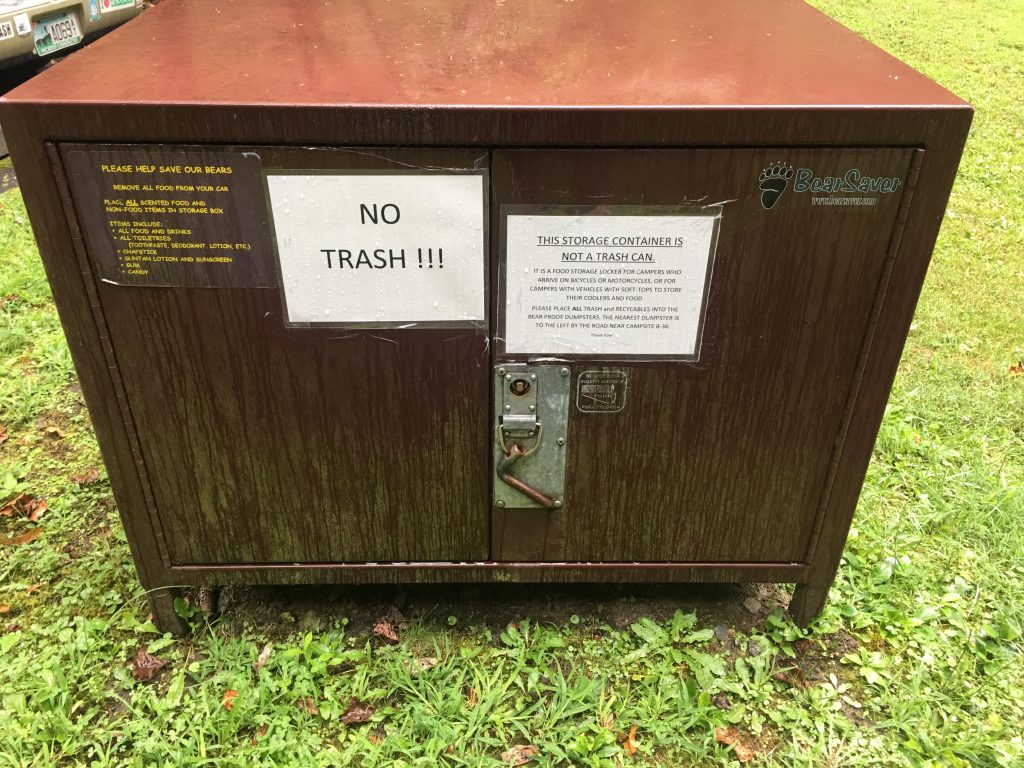
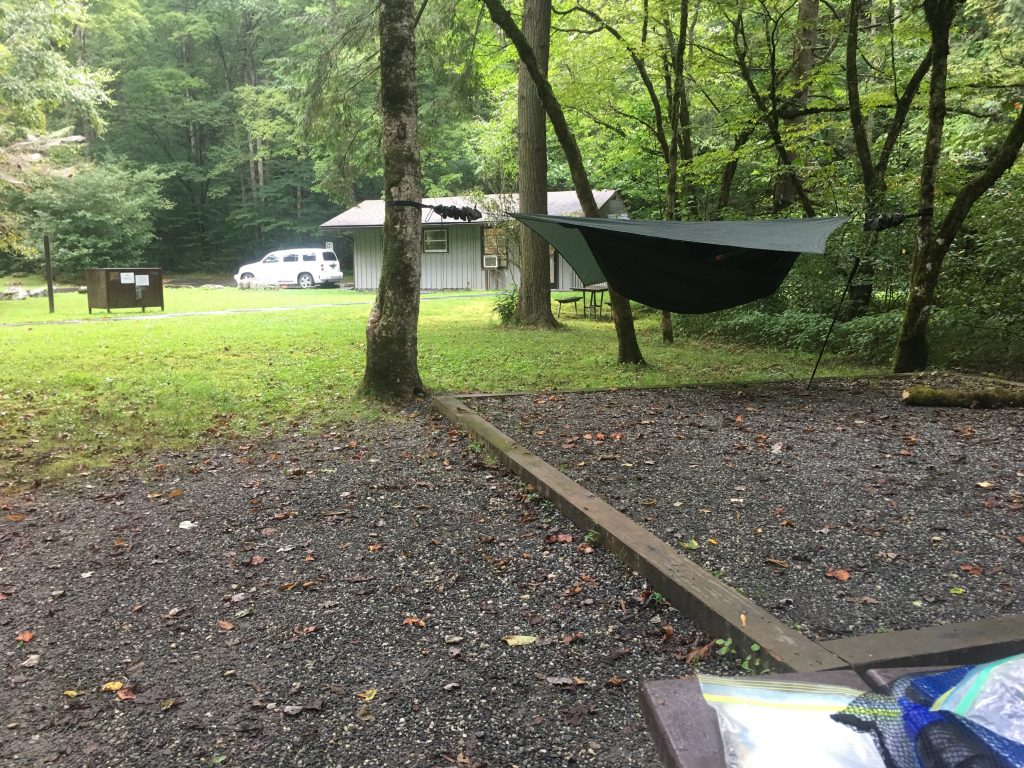
 Smokemont has cold running water, restrooms, and bear boxes instead of cables. I got a perfect spot right beside the ranger station, right beside a bear box, and near water and the restroom. I was about done walking for the day.